 Vidova
A short social video
Start with a few strong shots and choose a portrait or square canvas. Decide on the opening line, the approximate duration, and what the viewer should do next.
Make a 15-second vertical edit from these clips. Start with the walking shot, cut to the bridge, and end with “Take the scenic route”. Keep the titles away from the edges and leave the final line on screen for two seconds.
Review the crop on every shot, adjust the pacing in the timeline, and check that text stays readable on a small screen. Export the MP4 and upload it to your chosen publishing platform. See Projects, Timeline, and Text and titles.
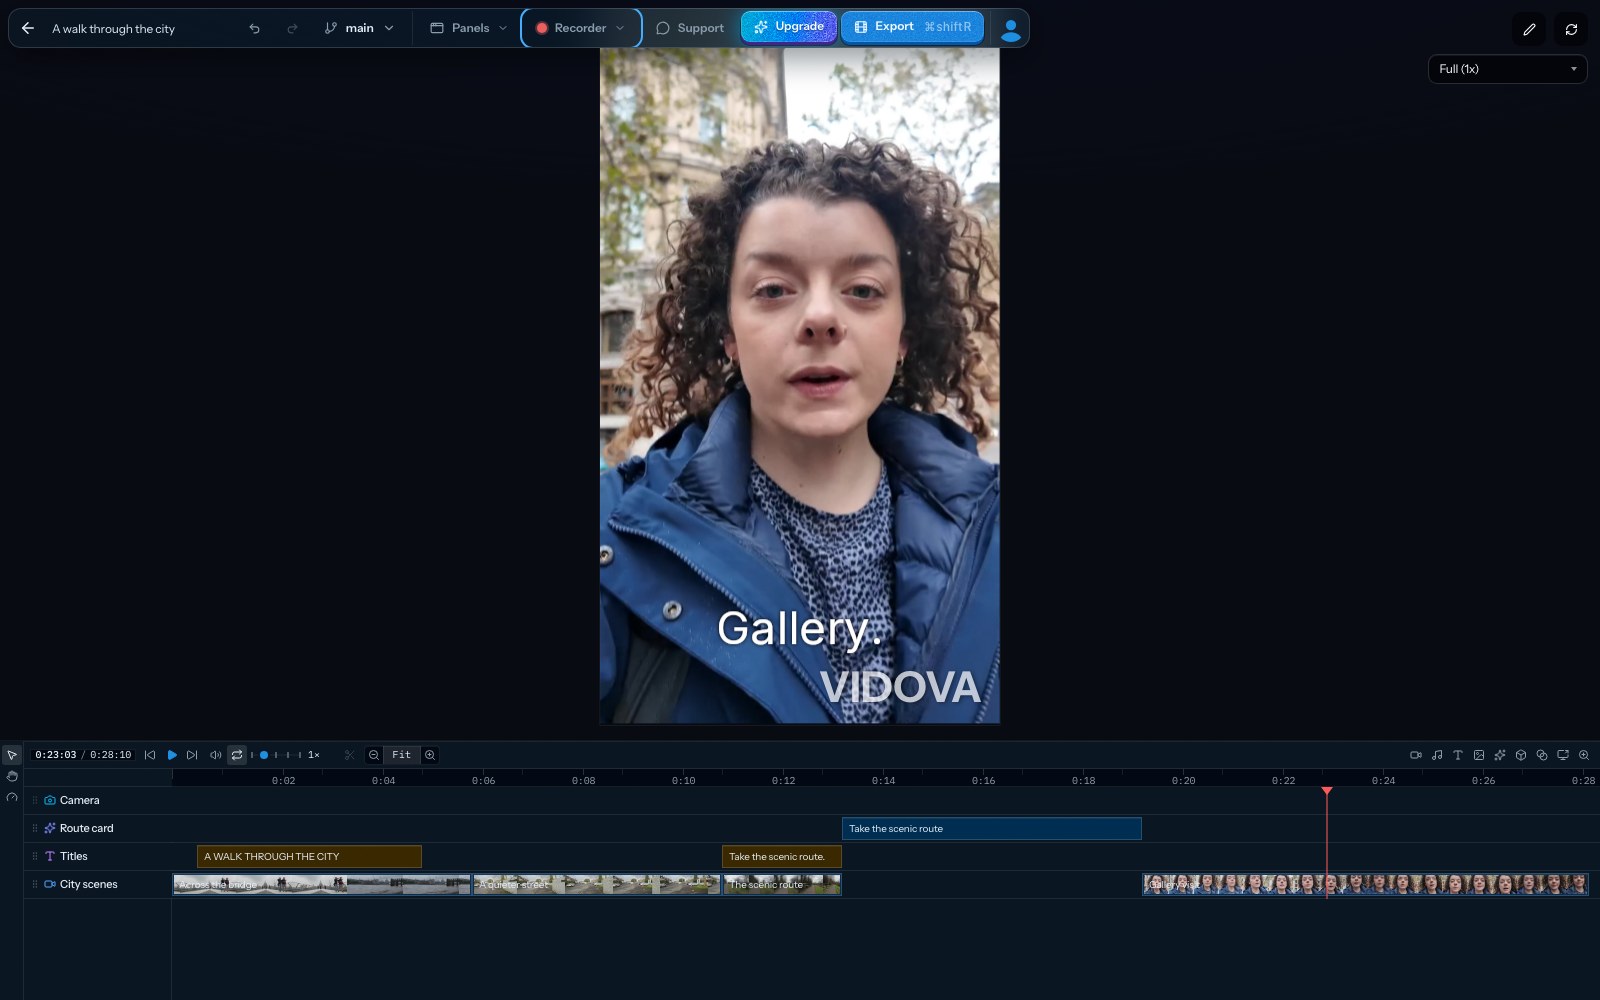
A portrait canvas matches this vertical source. Review caption size and placement again whenever you change the aspect ratio.
Select the image to open the original full view.
A product walkthrough or tutorial
Bring in a screen recording and, if available, a camera recording or narration. Structure the film around the task: show the result, explain the steps, and finish with the completed outcome.
Turn this recording into a concise walkthrough. Keep the three setup steps in order, trim the pauses between them, add a title for each step, and preserve the explanation in the original audio.
Use zoom and cursor controls when the source is an editable Vidova recording. For a regular video, use framing and animation controls to make small interface details easier to see. Add captions and review the spelling of product names. See Screen recordings and Captions and transcripts.
An interview highlight
Transcribe the interview, find a complete thought, and select a section that makes sense without the surrounding conversation. Ask chat to cut by the words in the transcript, then watch the resulting boundaries.
Find the answer about the first customer and make a highlight under 45 seconds. Keep the speaker’s meaning intact, remove the long pauses, add captions, and open with a short title.
Correcting a caption changes the text; cutting by words changes the film. Check the first and last spoken words and listen for abrupt sound changes. See Captions and transcripts and Audio and music.
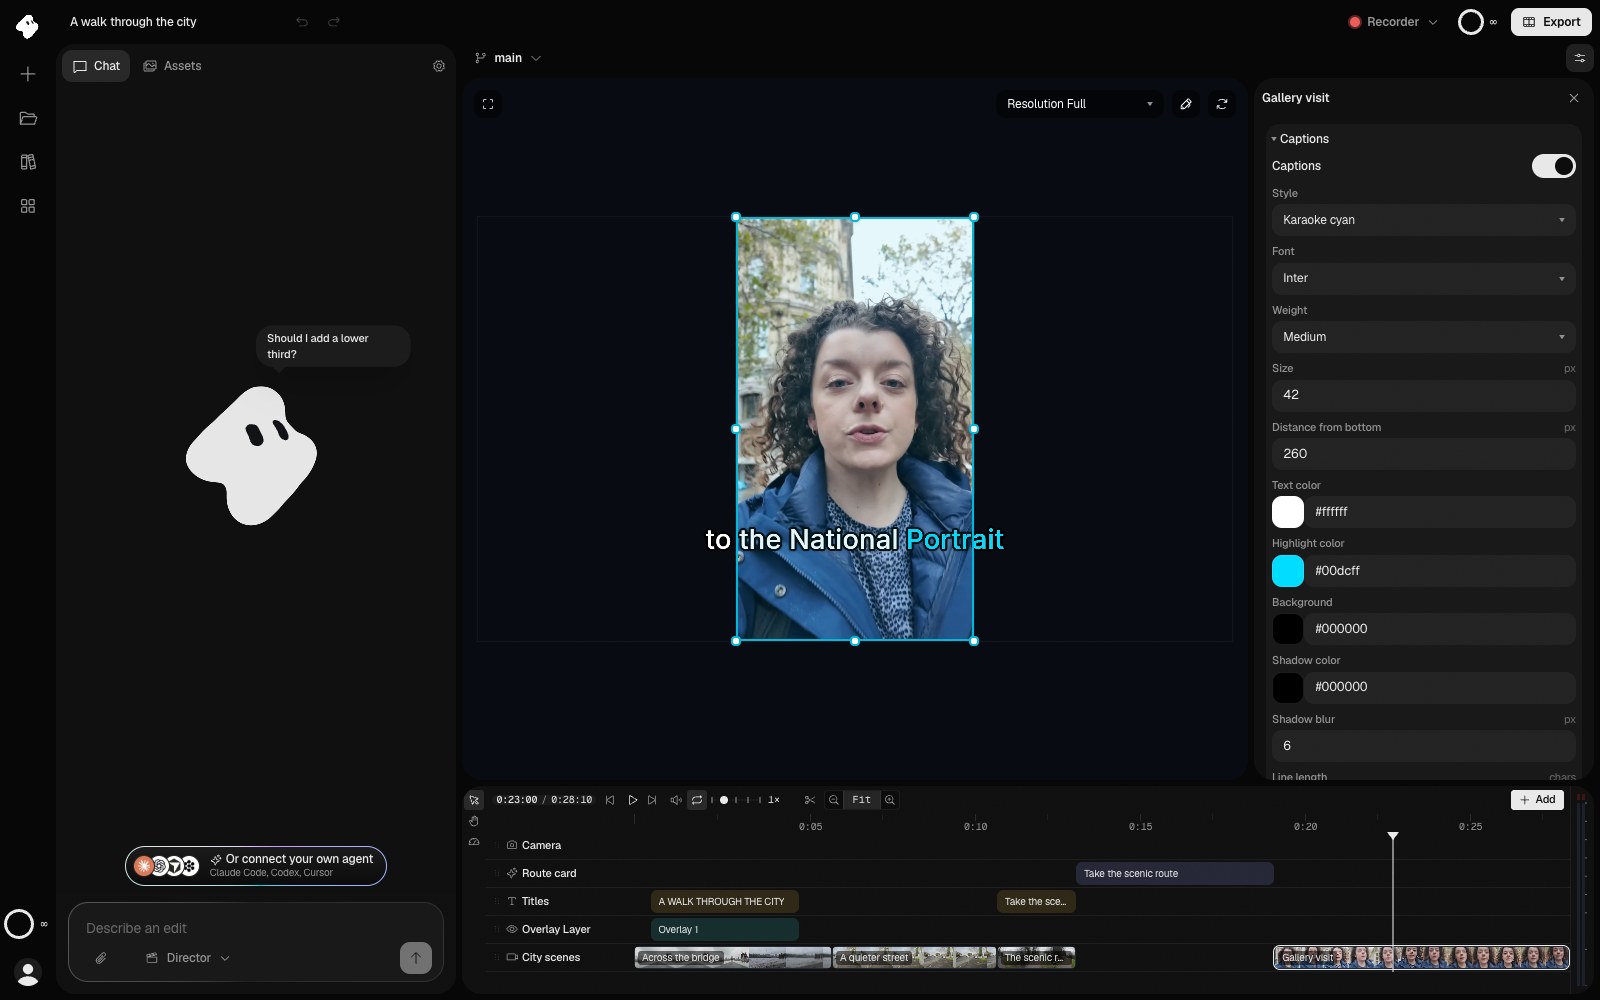
Style the selected recording’s captions, then close the Inspector to check their fit and readability.
Select the image to open the original full view.
A product story with graphics and voiceover
Combine product footage or stills with a short script. Create a voiceover, then arrange shots and titles around the narration. Use animated elements for a feature list, number, or closing call to action.
Build a 30-second product overview using these images and this script. Use one clear benefit per scene, keep the background consistent, and finish with the product name and website.
Use project variables for repeated text or colors. When you generate extra imagery or video, review the result before adding it to the edit, especially when the appearance of a real product matters. See Generating media and Elements and components.
An edit from a larger footage collection
Upload complete files or import only the ranges you need. Name assets clearly, index footage you want to search by description, and find candidate moments in Library before assembling the film.
Find moments showing people crossing a bridge and wide city views. Show me the matching source times first, then make a 20-second sequence from the shots I choose.
Checking source times before assembly helps when several clips look alike. Keep an alternate version if you want to compare two openings. See Your Library and Versions and undo.