 Vidova
Add a region above footage
An overlay affects a region of the frame and has its own clip on the timeline. It can cover information, highlight a detail, soften a background, or make text easier to read.
Choose Add → Overlay on the timeline to put a region at the playhead, then pick its style in the Inspector. You can also describe the region and timing in chat. Keep the overlay layer above the footage it should affect. If titles should remain clear above the treatment, keep their layer above the overlay.
Add a dark bottom scrim from 0.5 to 5 seconds behind the opening title. Keep the title above it, and leave the upper half of the bridge shot clear.
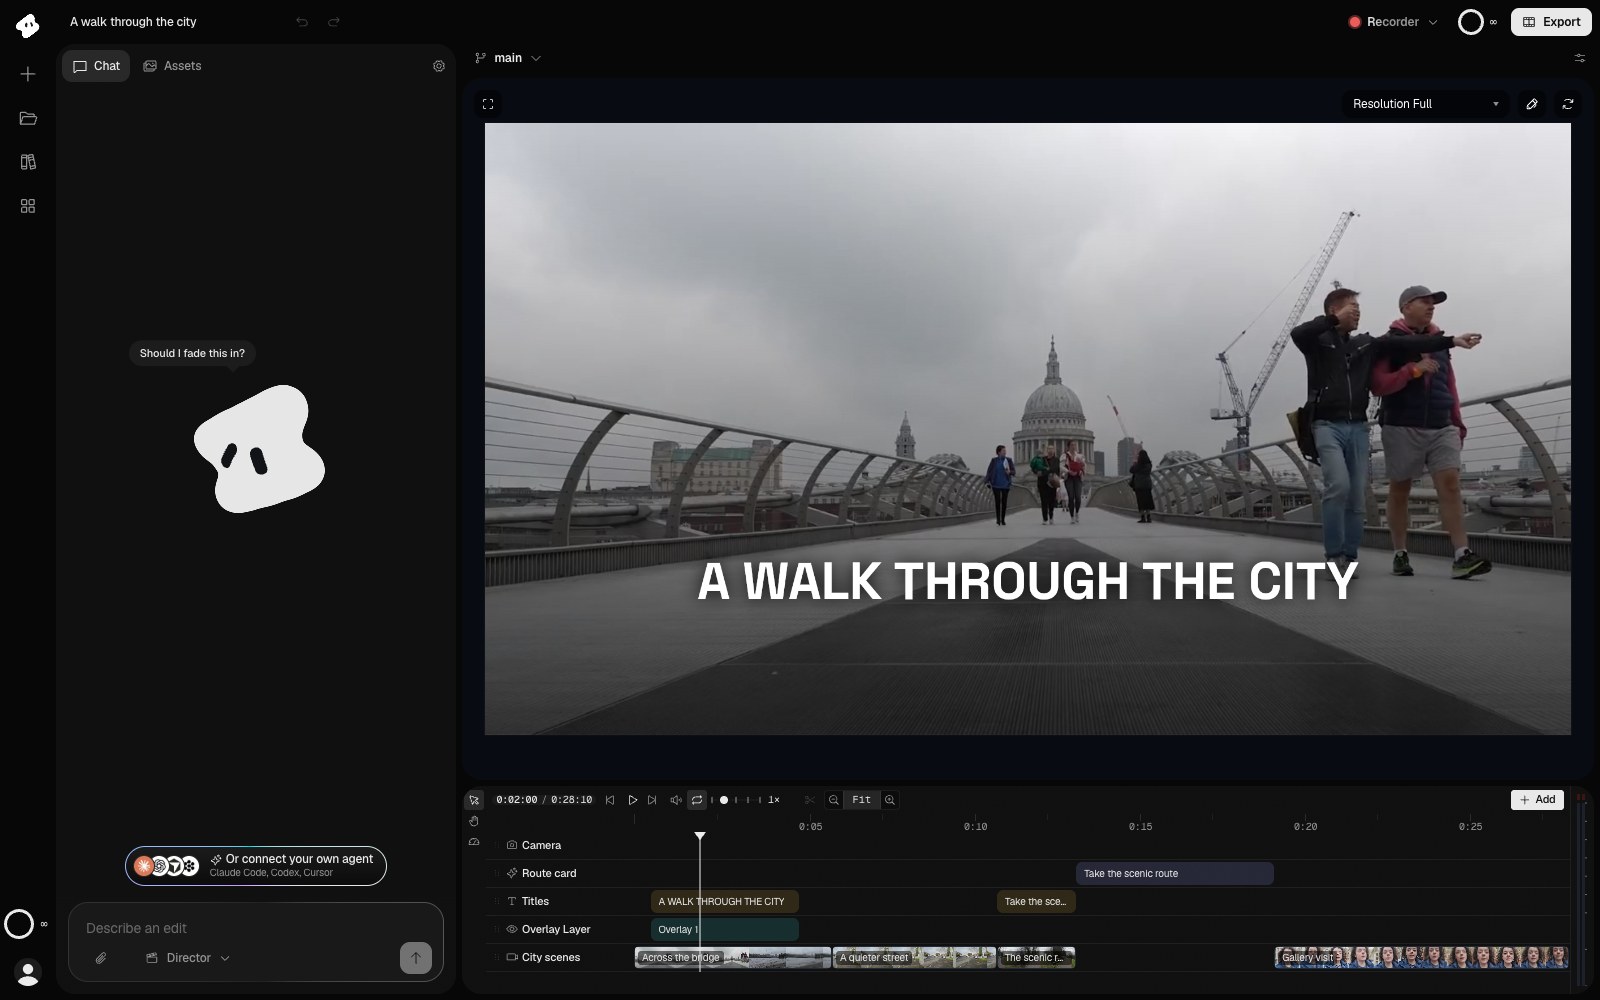
The scrim adds contrast behind the title while leaving the top of the picture clear. The title sits above the overlay.
Select the image to open the original full view.
Choose a treatment
| Style | Use it for |
|---|---|
| Black box or Solid color | Cover a region with a solid fill |
| Blur or Pixelated | Obscure detail in the footage underneath |
| Yellow highlight, Outline, Dashed outline, or Glow | Draw attention to a button, label, or object |
| Focus or Soft spotlight | Dim the area outside the selected region |
| Top, Bottom, Left, or Right scrim | Add a directional gradient behind text |
| Linear gradient, Radial gradient, or Color wash | Add a color treatment |
The Inspector shows controls relevant to the selected style. Blur has a Blur setting, Pixelated has Pixel size, and gradients have color and fade controls. Width, Height, and Opacity control the region’s size and strength. A new overlay starts as a small box; choose a scrim, gradient, wash, or texture and it fills the frame.
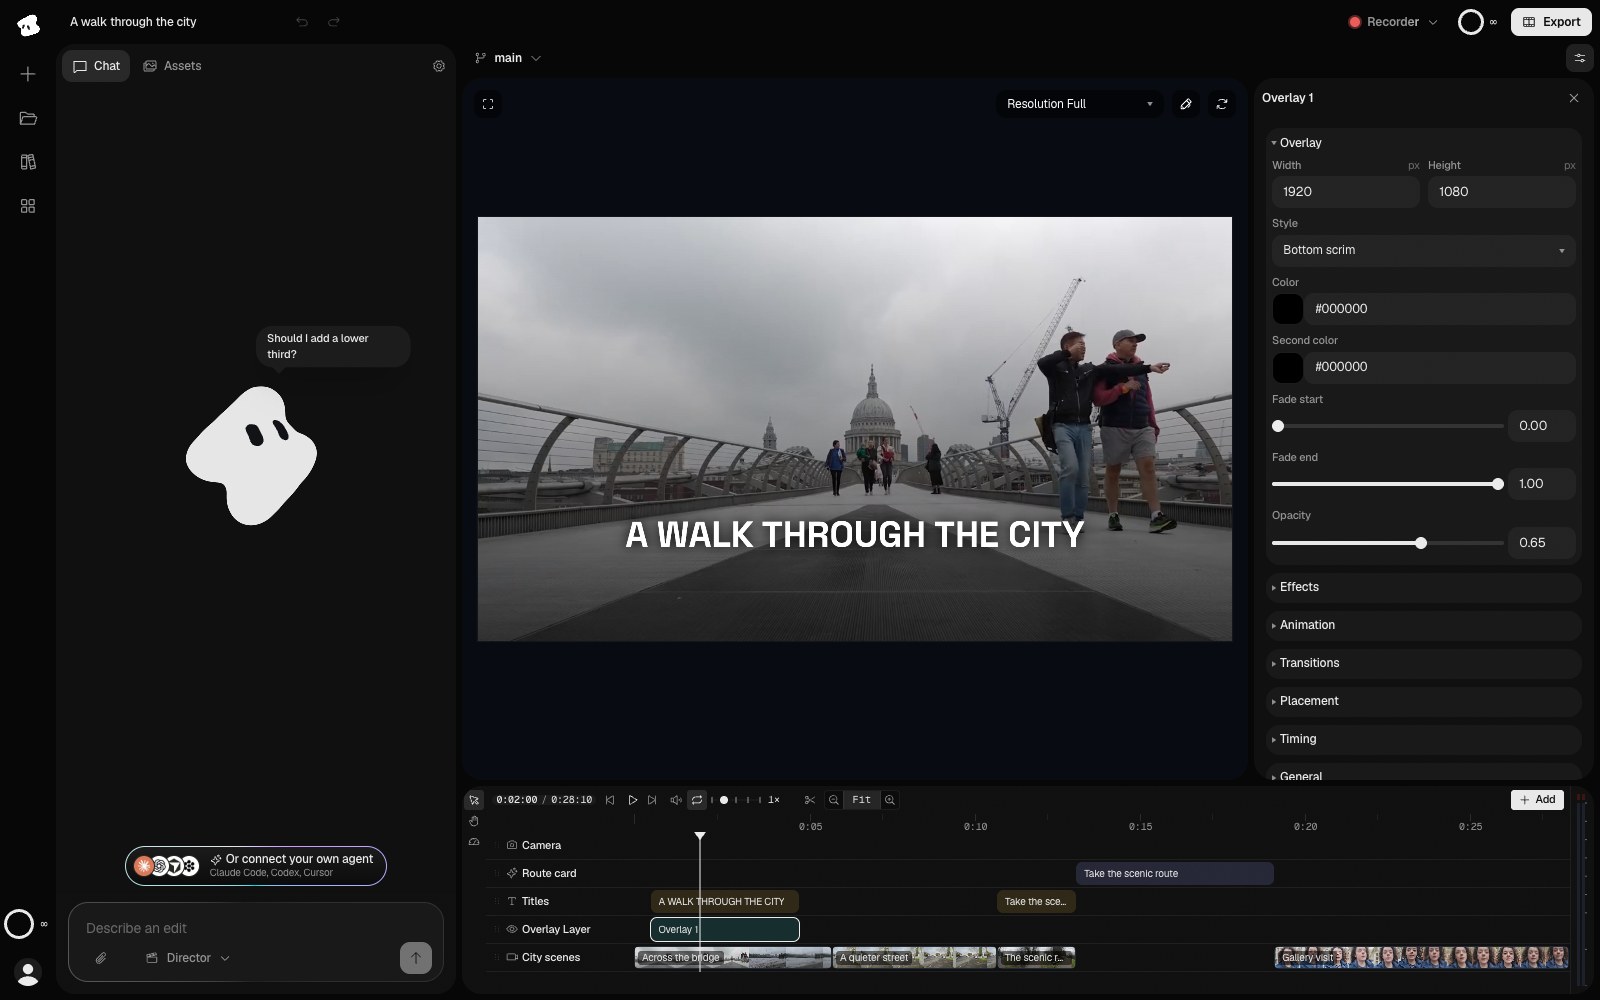
Choose the style, then set its colors and strength. A scrim fills the frame when you pick it on a new overlay.
Select the image to open the original full view.
Set the region and its timing
Use Placement to position the region and Timing to set its start and duration. Scrub the first and last frames as well as the middle: a region that looks right at one moment may miss a moving object later.
For a moving subject, use supported keyframes or ask chat to connect the treatment to a tracking result. Tracking requires its own analysis step. See Analysis and effects and Animation and transitions.
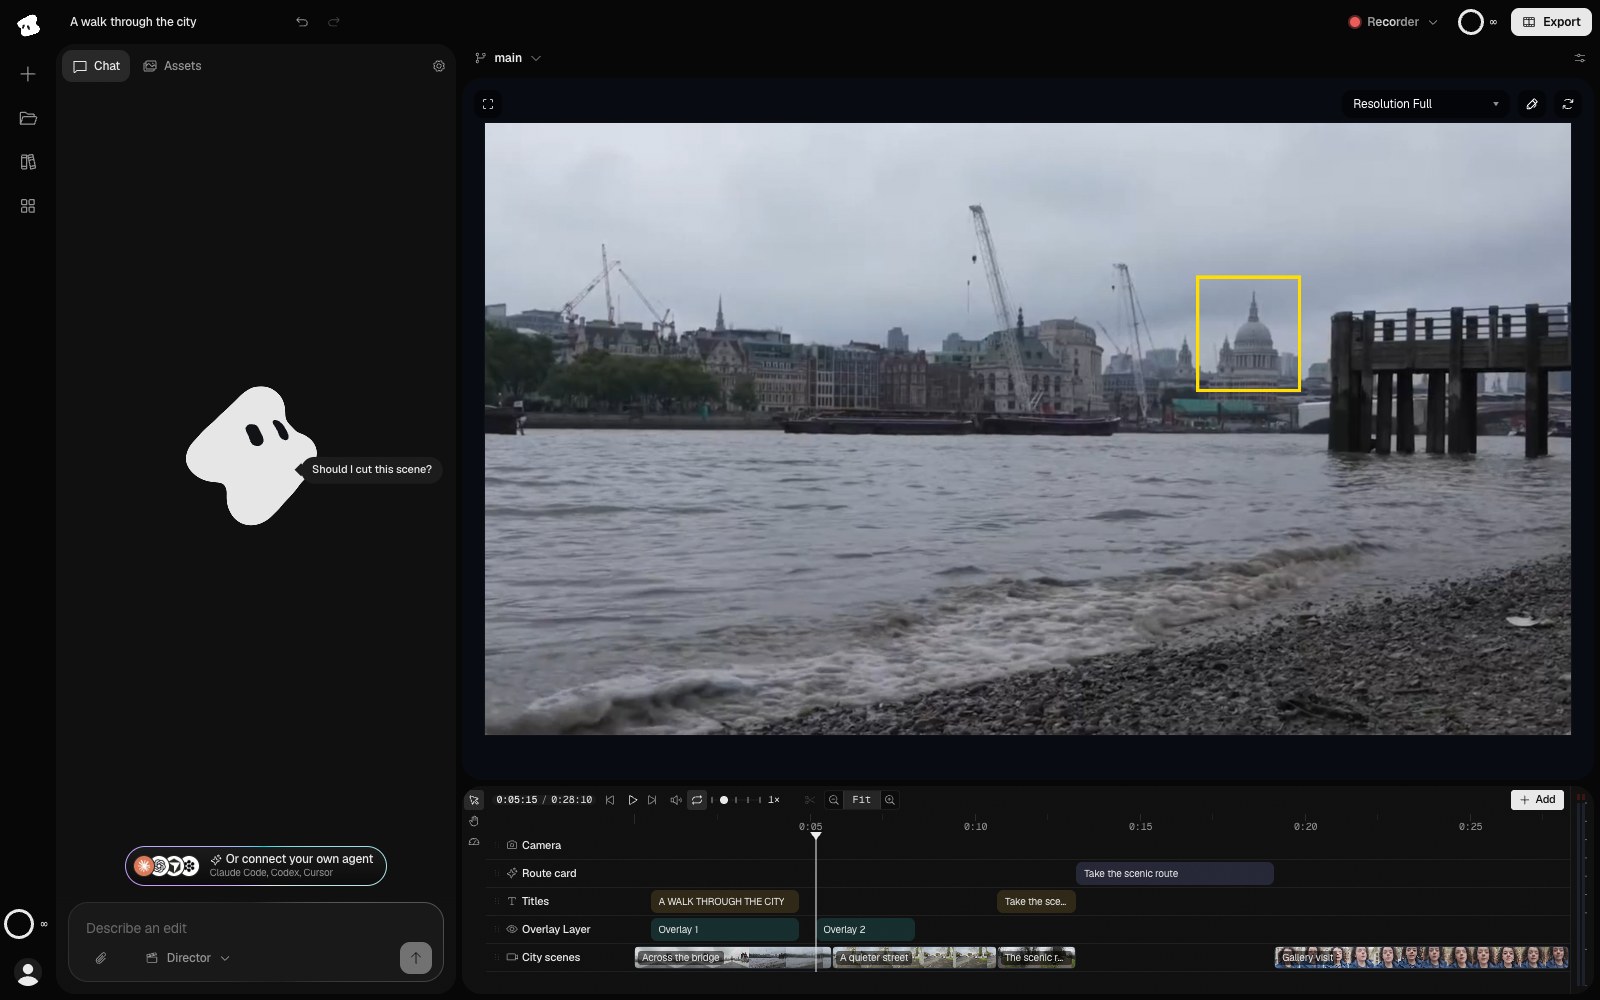
Review the region in the full composition. A fixed highlight must stay aligned with the detail throughout its time range.
Select the image to open the original full view.
Check what the viewer will see
Close the Inspector and watch the affected section at normal speed. Confirm that a highlight points to the right place, a scrim leaves enough of the image visible, and text still has room to breathe.
When covering information, inspect the whole time range and the exported file. A translucent highlight is a visual cue, not an opaque cover. Overlay changes belong to the edited film; they do not erase the original source file.