 Vidova
Build the soundtrack
Upload an audio file, reuse one from your Library, or generate music or a voiceover. Place speech, music, and sound effects on separate layers so you can adjust their timing independently.
Use the interview audio as the main voice. Add the music underneath it, starting at the beginning, and end both at the final title.
To add your own sound file, choose Add → Upload from computer on the timeline; it goes in at the playhead. For a generated voiceover, provide the exact script and name the voice you want. See Generating media.
Balance music and speech
Select a clip and adjust its Volume in the Inspector. Video clips expose it under Display; audio clips show it in the Captions section. A value of 0 silences the clip, and 1 uses its full level.
To make a quiet recording louder, raise its Gain beside Volume. Gain is in dB: +6 doubles the level, and it works on top of any volume fade. Very loud peaks are rounded off just under full scale instead of clipping. You can also ask in chat, for example “make my voice 6 dB louder”.
Start with the speech at a comfortable listening level, then lower the music until every word is clear. Listen at the transitions between speakers and during pauses, where a sudden level change is easiest to hear.
Watch the level meter at the right edge of the timeline while the film plays. A red light at the top means the mix is too loud; see Timeline.
The timeline’s Mute button controls preview listening. To remove a clip’s sound from the exported video, change that clip’s volume.
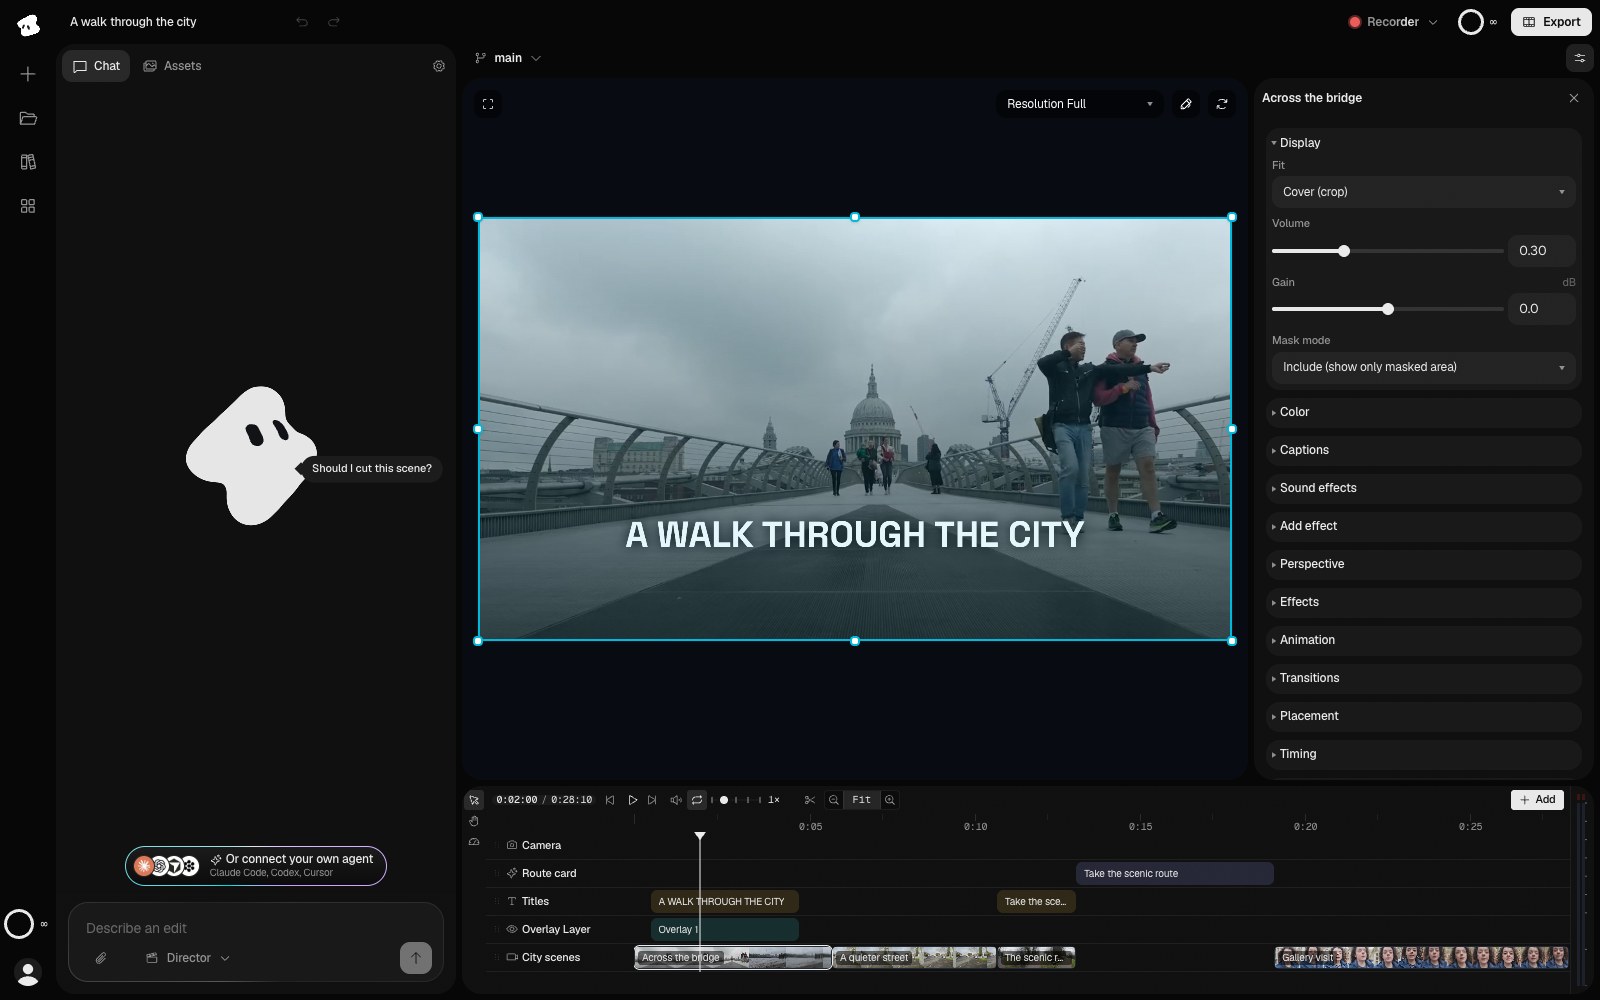
Display controls how the source fits its frame and how loudly its audio plays. An applied mask has its own Include or Exclude mode.
- Volume changes the source audio on this clip.
Select the image to open the original full view.
Choose when the audio plays
Use the clip’s Timing section to change its Start, Duration, Offset, and Speed. Start places the clip in the film; Offset chooses where playback begins in the source file.
For example, to begin with a later phrase, change the source offset or trim the beginning of the clip. Move the clip itself when the phrase is correct but needs to happen later in the film.
Ask chat for a fade when music should enter gradually or fall away before speech. Include the time range: “Fade the music to silence over the final two seconds.”
Add a sound effect
Ask chat for the sound and the moment it should play: “Add a soft whoosh when the title appears.” Chat makes the sound and places it on the timeline. Each generated sound uses credits.
Descriptions such as “soft whoosh”, “door closing”, or “forest ambience” work well. Listen to the effect with the rest of the soundtrack before deciding on its level. To reuse a sound the project already has, choose Add → Media from this project.
Time cuts to the music
Ask chat to detect beats before making a cut-to-music edit. Specify whether you want a change on every beat, on the start of each bar, or only at major musical changes.
Find the bar starts in the music and use them for the montage cuts. Hold the final shot through the ending.
See Analysis and effects for beat analysis and Exporting and sharing for checking the finished soundtrack.