 Vidova
Connect your agent
The Vidova MCP server lets an external agent work on your account’s projects. Add this remote server URL in a client that supports HTTP MCP and browser sign-in:
https://mcp.vidova.ai/mcpComplete sign-in with the same account you use for Vidova. The client handles the connection credentials after sign-in.
Client setup
For a JSON configuration that already contains other servers, add the Vidova entry alongside them.
Claude Code
Run it in your terminal.
claude mcp add --transport http --scope user vidova https://mcp.vidova.ai/mcpStart Claude Code, run /mcp, pick vidova, then Authenticate.
Codex
Run it in your terminal.
codex mcp add vidova --url https://mcp.vidova.ai/mcpRun codex mcp login vidova in your terminal.
Cursor
Add it to ~/.cursor/mcp.json.
{ "mcpServers": { "vidova": { "url": "https://mcp.vidova.ai/mcp" } } }Open Cursor Settings, then MCP, and press Connect next to vidova.
Windsurf
Add it to ~/.codeium/windsurf/mcp_config.json.
{ "mcpServers": { "vidova": { "serverUrl": "https://mcp.vidova.ai/mcp" } } }Refresh MCP servers in Windsurf and sign in to vidova when asked.
In another compatible client, add the URL above as a remote HTTP server and follow its authentication prompt.
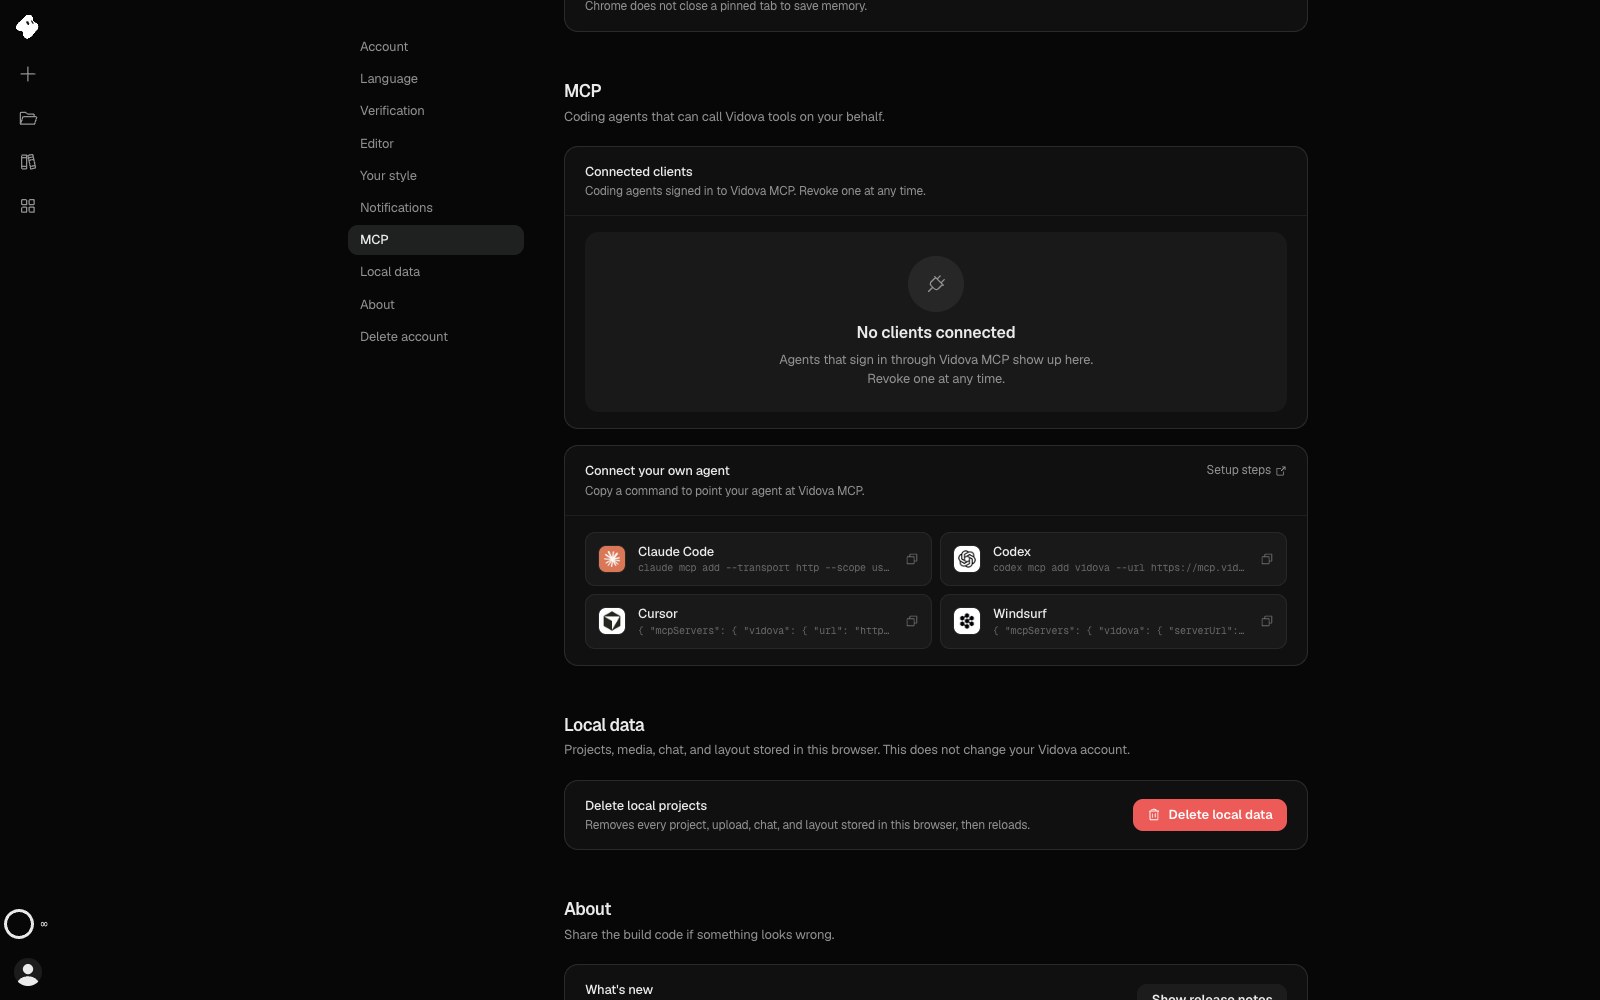
MCP settings combines client setup with access management. This demo account has no connected external clients yet.
- Agents you sign in through Vidova MCP appear here. Revoke one at any time.
- Copy the command for your agent to connect it to Vidova.
Select the image to open the original full view.
Connect ChatGPT
ChatGPT does not need the server address. Vidova has a plugin in ChatGPT’s plugin directory, so you do not need developer mode. Open the plugin, choose Install plugin, and sign in with your Vidova account when ChatGPT asks.
Then type @Vidova in a chat, attach your clips, up to 512 MB each, and say what you want. For a larger file, Vidova gives you a link to upload it.
Connect Claude
In Claude, add Vidova as a custom connector in the connector settings, with this address:
https://mcp.vidova.ai/claudeChoose Connect, sign in with your Vidova account, and allow access. The Vidova plugin for Claude uses the same address.
The Claude connector edits the footage you provide. Claude can read your footage, cut it, add captions, titles, motion graphics, library music, transitions and color, check the edit, and render a finished MP4. This connector has no tools that generate images, video or audio.
Choose a project before editing
Ask the agent to list your projects, then open the one you want. It can also create a new project. Project selection determines which film subsequent editing tools act on.
List my Vidova projects and open the one named “Weekend”. Read the film and show me a preview before making changes.
The remote server edits projects hosted by Vidova. Open the same project in the web editor to watch changes appear and review the result.
What the agent can do
Your agent can open a project, arrange clips, import footage, find Library files, generate media, and inspect previews. It can also check your credit balance before starting a task. The Claude connector does not generate media.
For uploads, let the agent use the upload tools and follow their returned instructions. Generations answer at once with a Job ID, and other long operations can too; the agent should use wait_for_jobs with every Job ID it is waiting for to retrieve the results instead of starting an operation again.
MCP uses your Vidova account’s credits. Manage connected clients in Settings → MCP. See Authentication for account and access troubleshooting.