 Vidova
Record with interactive setup
vidova devices
vidova permissions
vidova record
Choose the source and inputs in the terminal setup. During recording, press p to pause or resume. Press q or Ctrl + C to stop and save.
For a repeatable command, use --no-prompt and provide the source explicitly. Local recording does not require a Vidova sign-in.
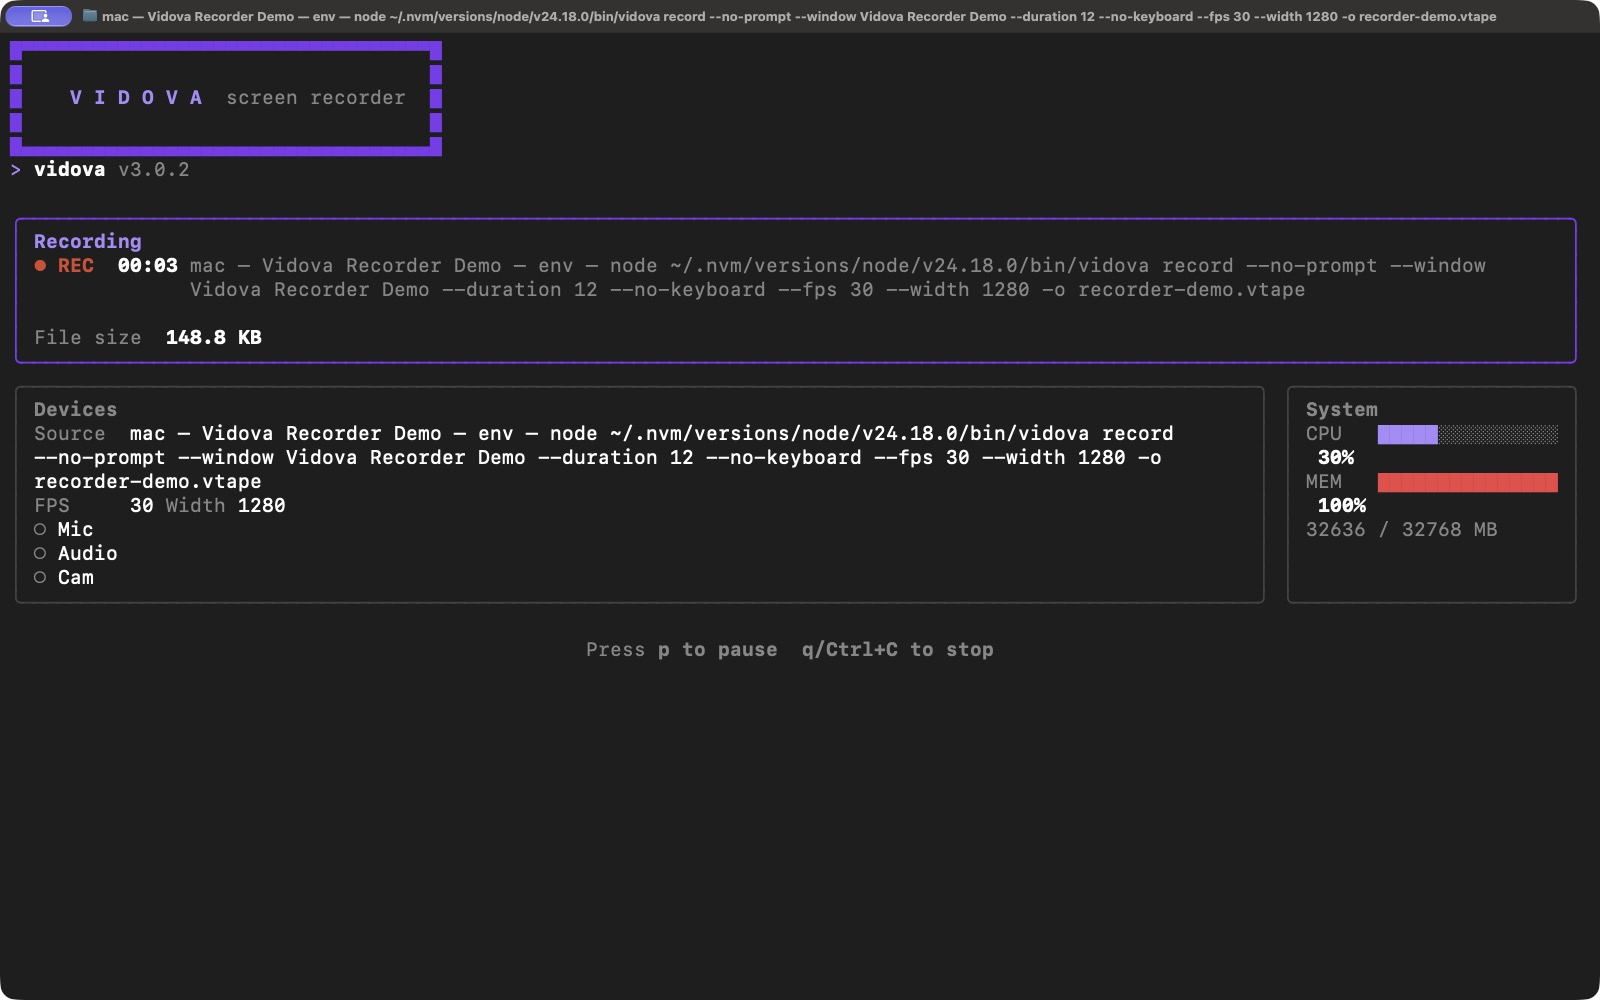
A real window-only recording in progress. Press p to pause or resume, or q / Ctrl+C to stop.
Select the image to open the original full view.
Capture one named window
Open the window first and find its title with vidova devices. The --window option matches text in the title. Use a distinctive title so the command selects the intended window.
vidova record --no-prompt --window "Vidova Recorder Demo" --duration 12 --no-keyboard --fps 30 --width 1280 -o recorder-demo.vtapeReplace the example title with yours. This command stops after 12 seconds, keeps cursor data, disables key tracking, and saves a tape locally. It does not enable camera, microphone, or system audio.
If the window cannot be found, bring it into view and run vidova devices again. The title reported by the operating system may include the running command or document name.
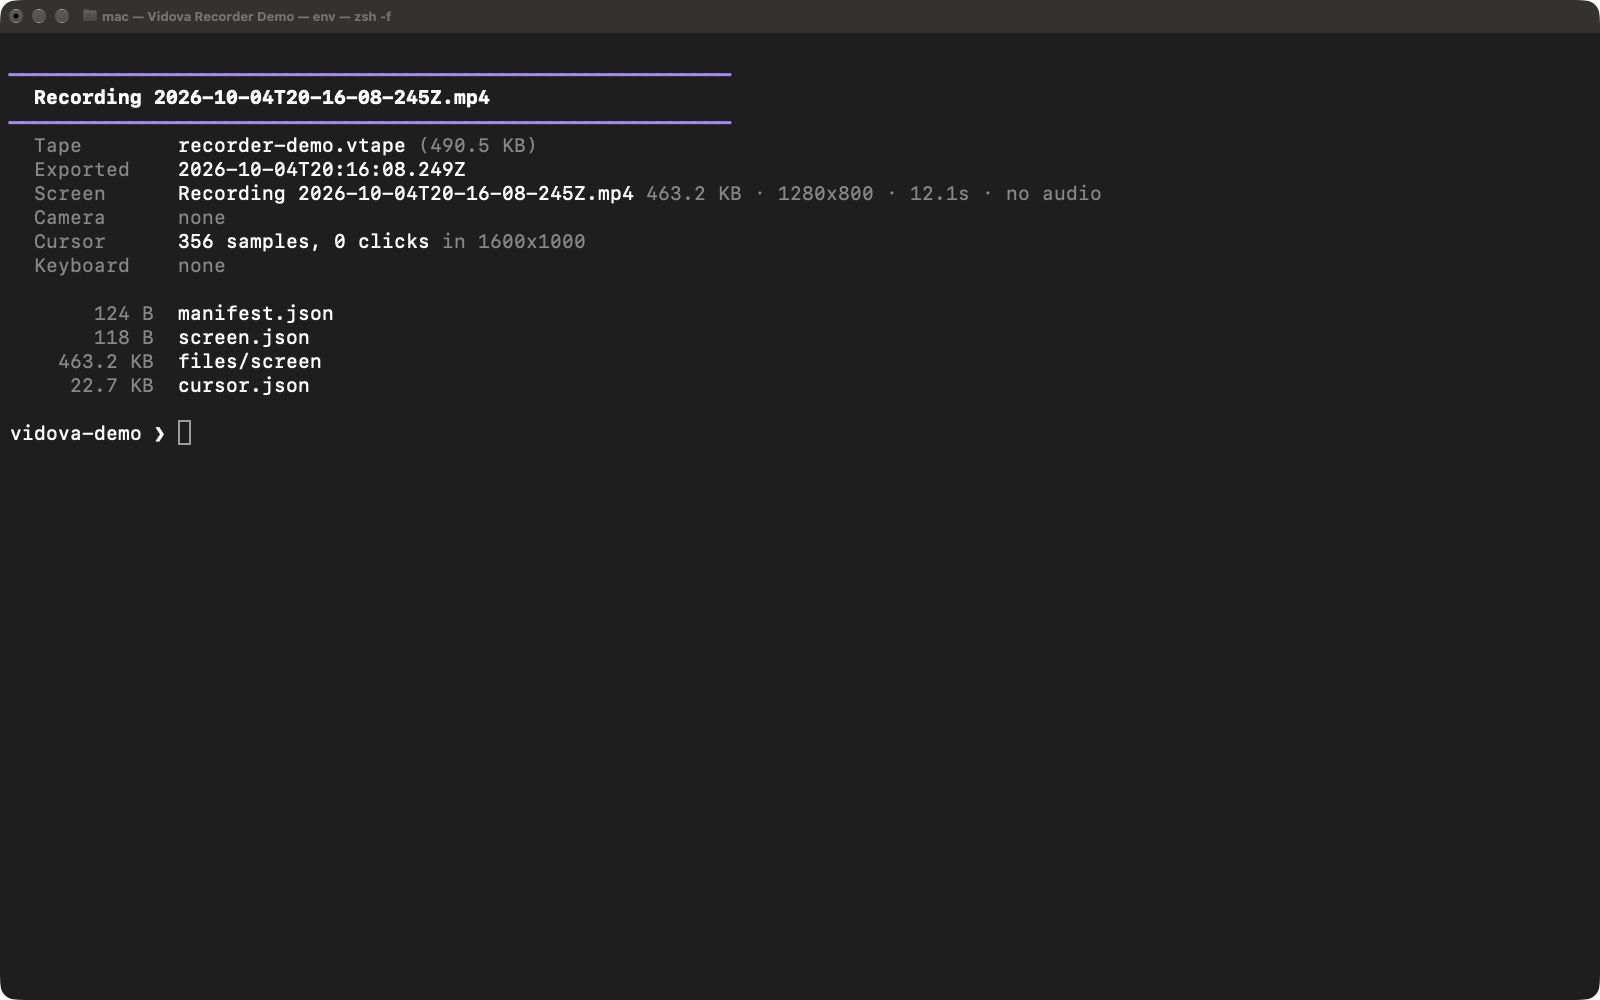
The saved demo tape contains screen video and cursor data. Its empty click count is separate from its movement samples.
- This take includes cursor movement but no camera, keyboard, or audio.
Select the image to open the original full view.
Add voice, camera, or computer audio
Use the names reported by vidova devices. For example, replace each quoted name below with a device available on your computer:
vidova record --no-prompt --window "Product Demo" --mic "Microphone Name" --cam "Camera Name" --system-audio --countdown 3 -o narrated-demo.vtapeMicrophone captures your voice; system audio captures computer playback. Camera adds a camera track. Each input needs the appropriate operating-system access. Omit the flags for inputs you do not want.
Use --display 1 instead of --window when you intend to record the first display. Display numbers start at 1. Use --no-cursor or --no-keyboard to disable those tracked inputs.
Choose a tape or a plain video
The normal output is a .vtape, which preserves the recording’s available tracks. Use --raw when you want a plain MP4:
vidova record --no-prompt --window "Product Demo" --duration 15 --raw -o demo.mp4After recording, inspect a tape with vidova info demo.vtape. Follow Working with .vtape files to extract its files or CLI sign-in and uploads to send it to a project. Recording locally and uploading are separate actions unless you explicitly request upload.