 Vidova
Use the same upload in another project
Your Library holds the files uploaded to your account. A file can belong to several projects, so you can reuse an interview, logo, or music track without uploading it again.
- Open Library and select the files you want.
- Choose Add to project.
- Search for the destination project, then select it.
- Open that project and find the files in Assets. Place them on the timeline or ask chat to use them.
Adding a file to a project makes it available for editing. You still choose where it appears in the video.
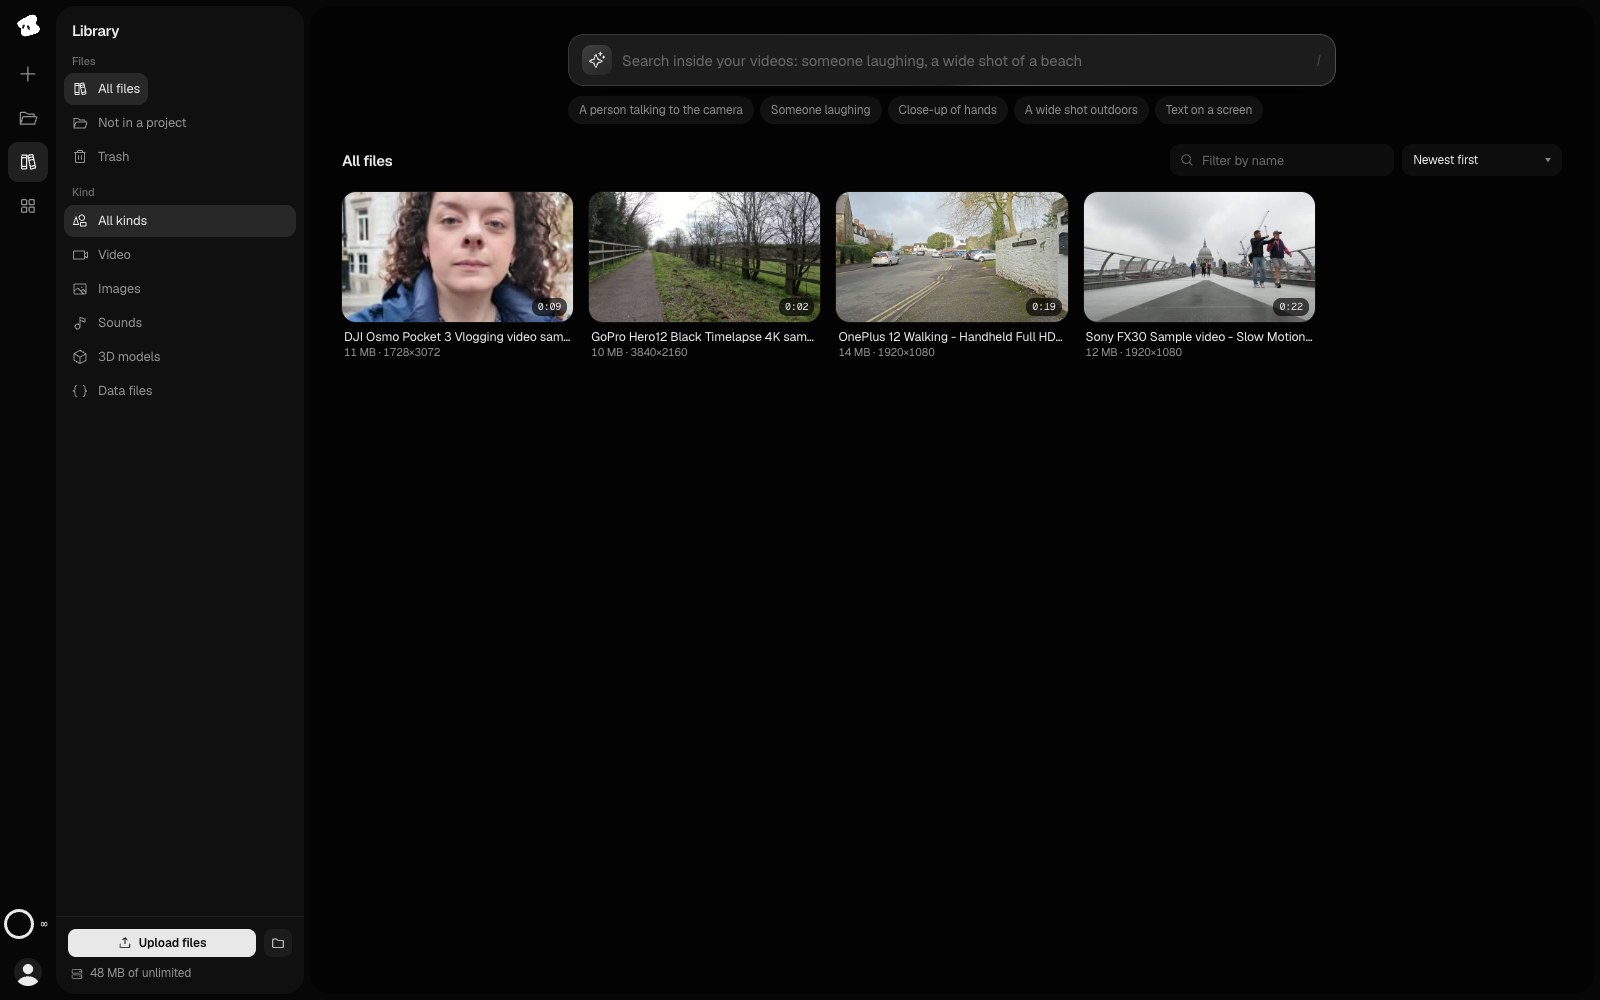
Library holds your uploads for reuse across projects. Describe a moment to search your indexed videos.
Select the image to open the original full view.
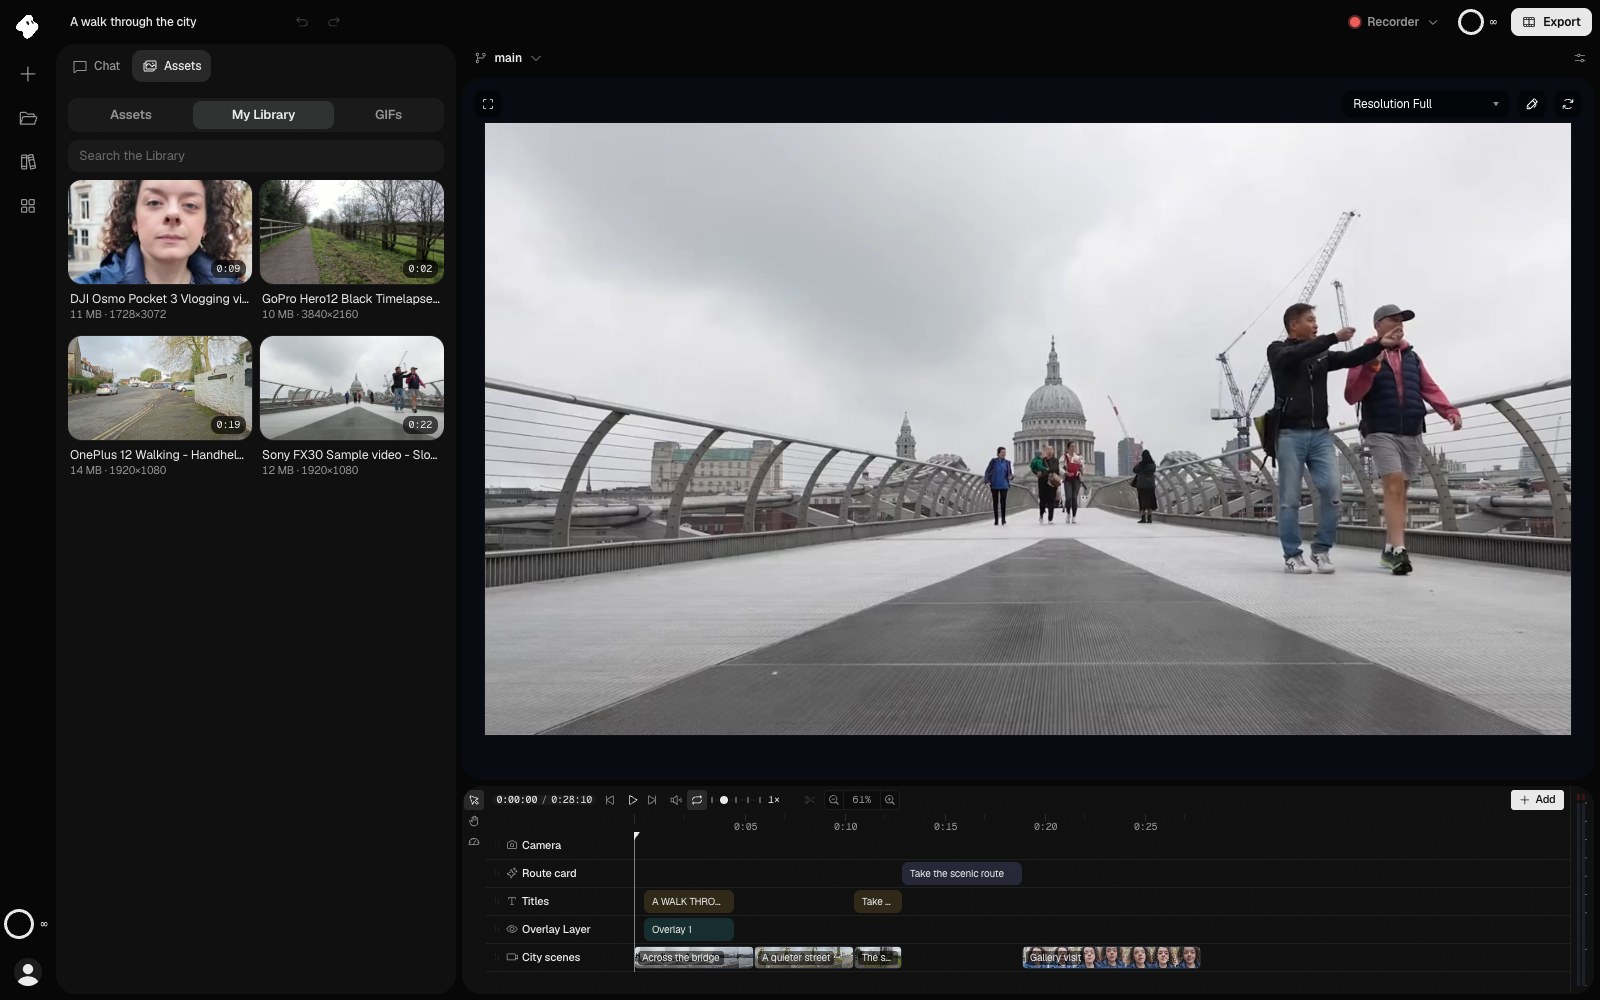
Use My Library to reuse an account upload in the open project. It is separate from the published elements catalog.
- My Library lists your account’s uploads for reuse in this project.
Select the image to open the original full view.
Find a file
Search by name, narrow the list to videos, images, sounds, or 3D models, and sort by name, size, upload date, or capture date. Use Not in a project to find files that no project currently uses.
For footage you cannot identify by filename, use Video Intelligence to search indexed videos by what happens in them. See Importing media for the difference between finding a file and finding a moment within it.
Keep part of a new video upload
If you need only a section of a long recording, expand Import a video range before uploading. Enable Keep only a selected range in new uploads, then enter the start and end in seconds.
The range applies to each video uploaded with that setting. The end must fall within the source video. For example, a start of 60 and an end of 90 keeps the 30-second section beginning one minute into the recording.
The full file is transferred temporarily; processing retains only the selected range. The imported video starts at 0 seconds, so its timestamps differ from the original recording. Turn the range setting off before uploading a video you want to keep in full.
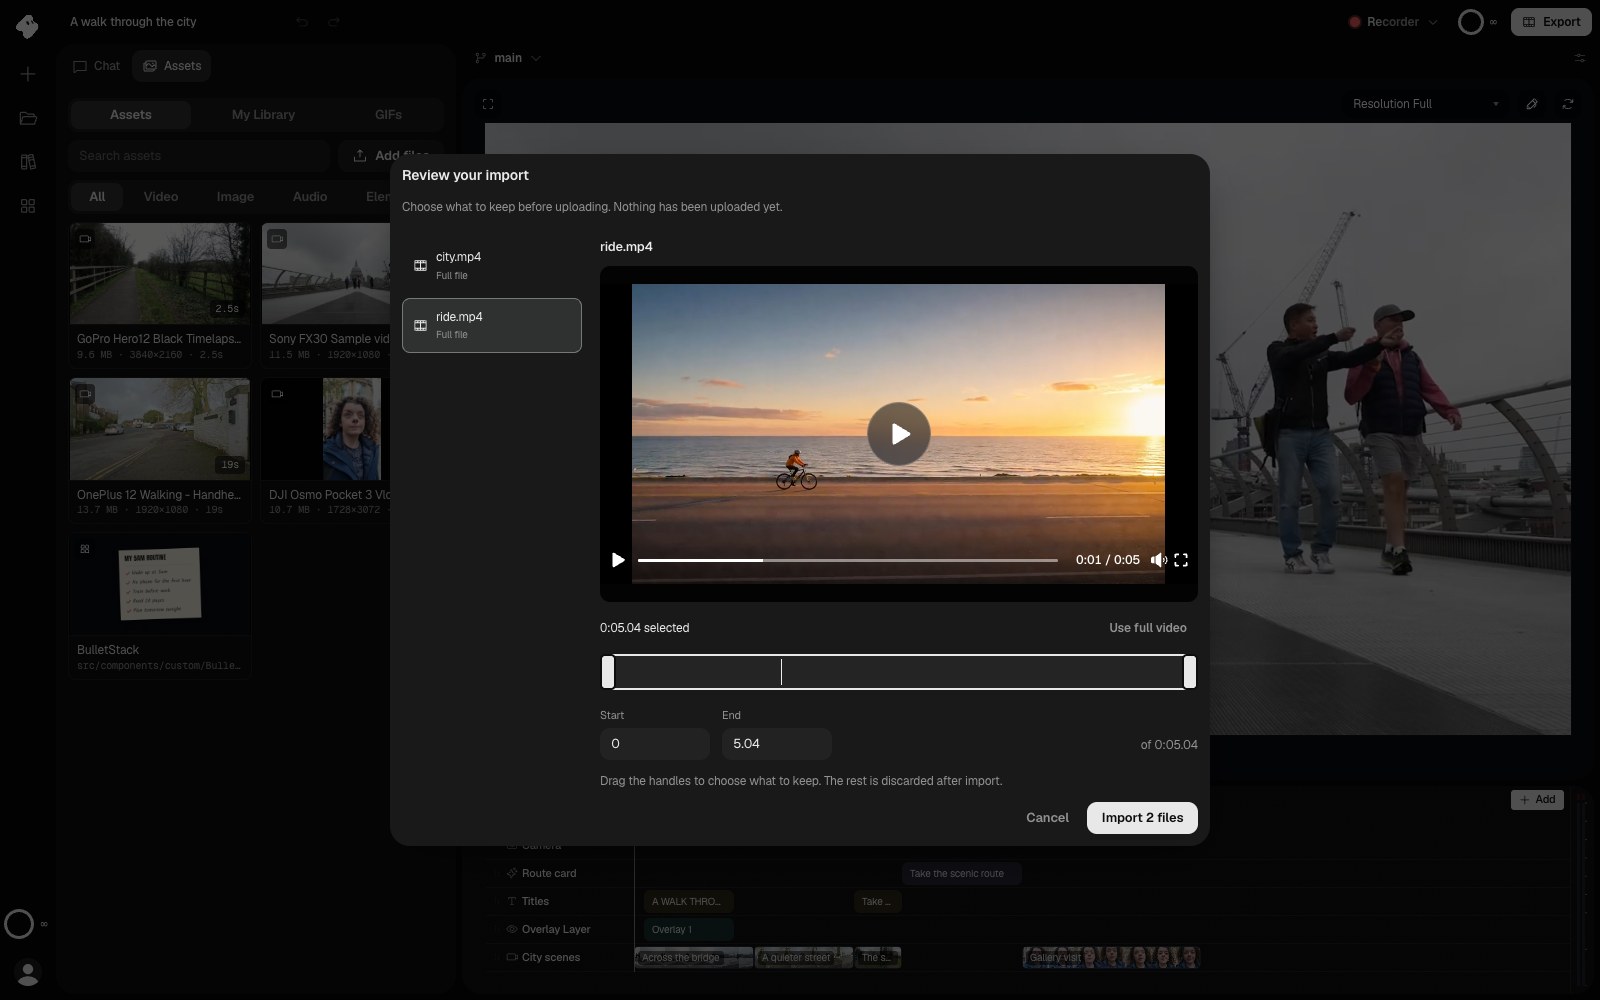
Review the local files before confirming the upload. Choose the range to keep, or import the full file.
Select the image to open the original full view.
Restore a file from the Trash
Select files and choose Move to the Trash to remove them from the main Library view. The Trash keeps them for 30 days. If projects use a selected file, the confirmation lists the affected projects.
To bring a file back, open Trash, select it, and choose Restore. Projects that use a trashed file show it as being in the Trash until it is restored.
Delete permanently removes the file for good. Projects that use it lose access to that media, and the deletion cannot be undone. Review the selected files before confirming.