 Vidova
Adjust a shot’s color
Select a video or image clip, move the playhead inside it, and expand Color in the Inspector. Make one adjustment at a time and compare several frames from the clip.
| Control | What to look for |
|---|---|
| Exposure | Overall brightness; keep important bright areas from losing detail |
| Contrast | Separation between light and dark parts of the picture |
| Saturation | Color intensity |
| Temperature and Tint | Warm/cool and green/magenta color balance |
| Highlights and Shadows | Detail in the brighter and darker areas |
| Vignette | Darkening around the edges of the frame |
These settings belong to the selected clip. Another use of the same source footage can have a different look.
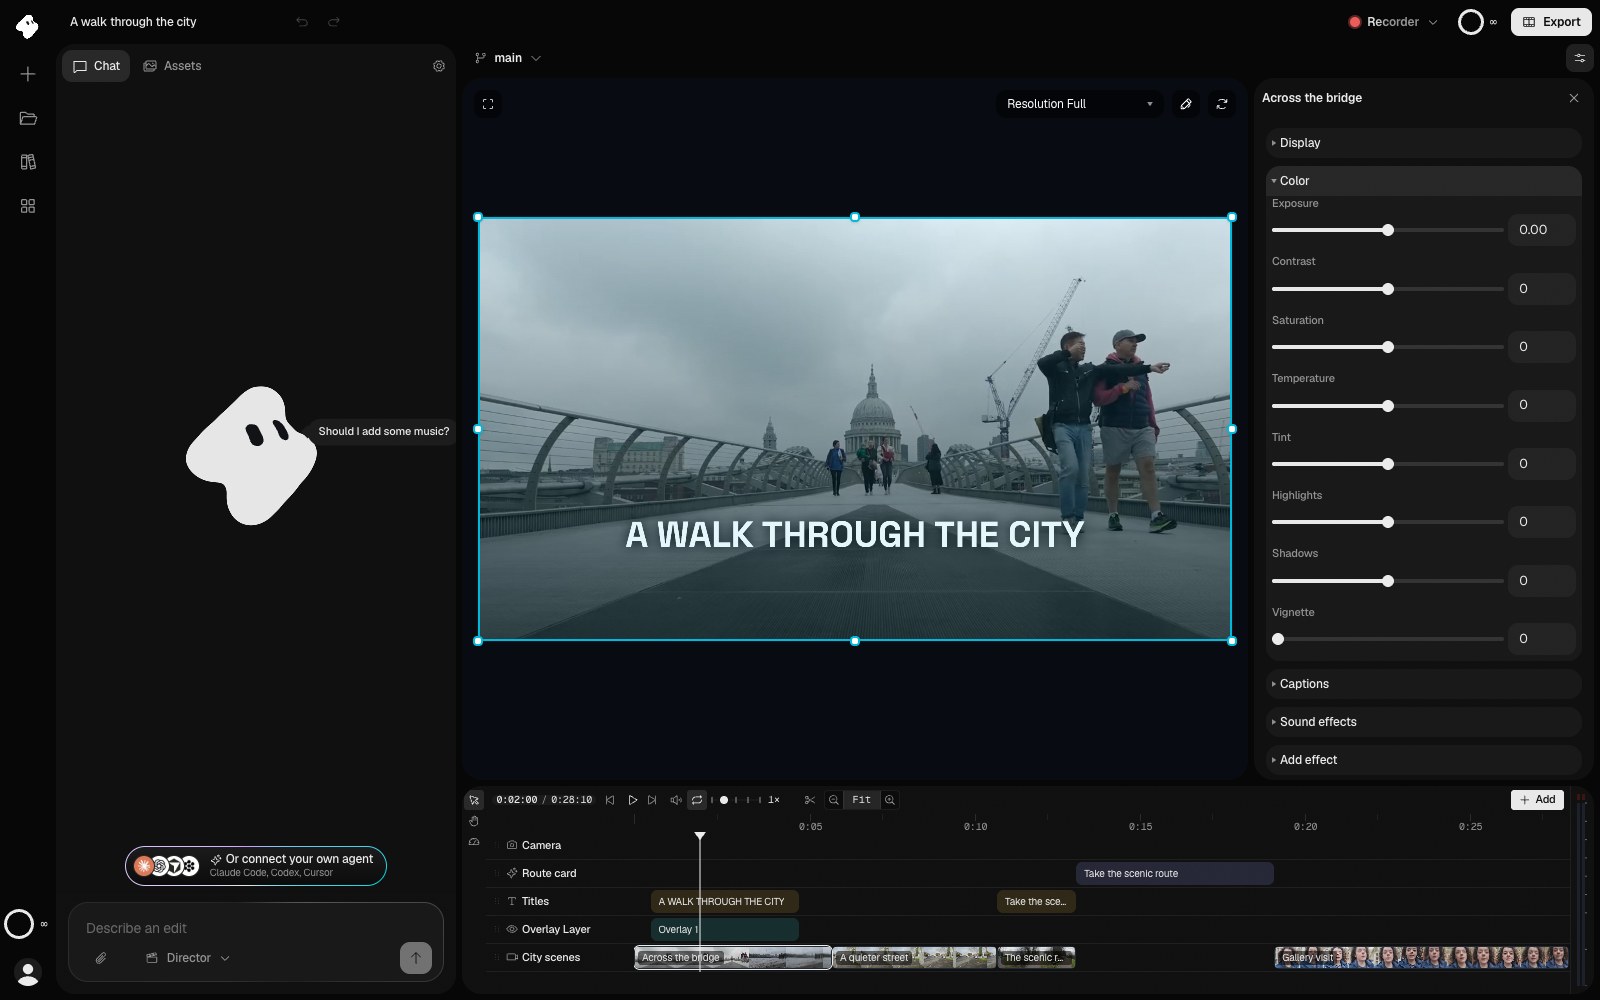
Adjust one shot in Color, then compare it with its neighbors. These controls belong to the selected clip.
Select the image to open the original full view.
Make adjacent shots feel consistent
Start with exposure and color balance. Move between the last part of one shot and the first part of the next, then compare neutral surfaces, faces, and the brightness of the scene. A modest adjustment often makes a cut feel more natural.
Match the street shot to the bridge shot. Keep the daylight look, reduce the color difference between them, and avoid making the sky brighter.
Review chat’s changes in the preview. Color controls change the image; they do not recover detail that was absent from the recording.
Tilt a clip as a surface
For supported video, image, element, and recording clips, expand Perspective and enable 3D surface. Use Tilt to angle the surface and Rotate Z to turn it within the frame.
Depth, Depth shading, Rim, Sheen, Depth blur, and Shadow control the treatment. This is useful for presenting a screen or graphic at an angle. It treats the clip as a surface; it does not reconstruct a filmed object as a 3D model.
Keep small text readable and check that the tilted edges stay inside the canvas. Disabling 3D surface resets that treatment.
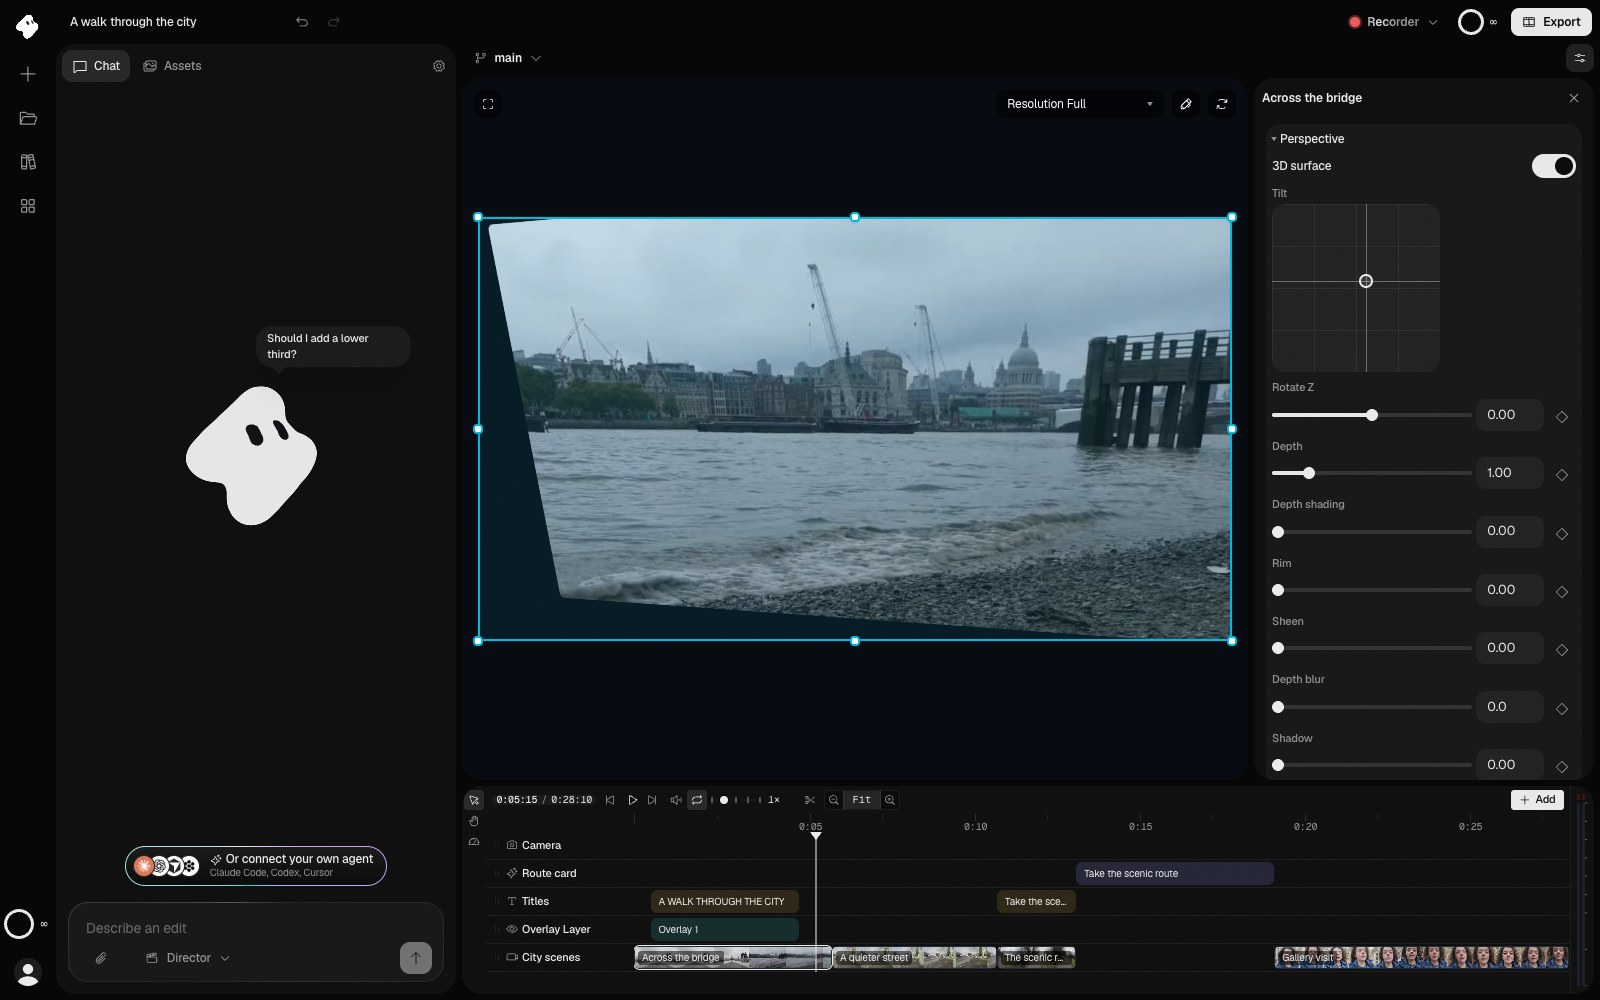
Enable 3D surface to expose the perspective controls. Review the result with the panel closed after making a change.
Select the image to open the original full view.
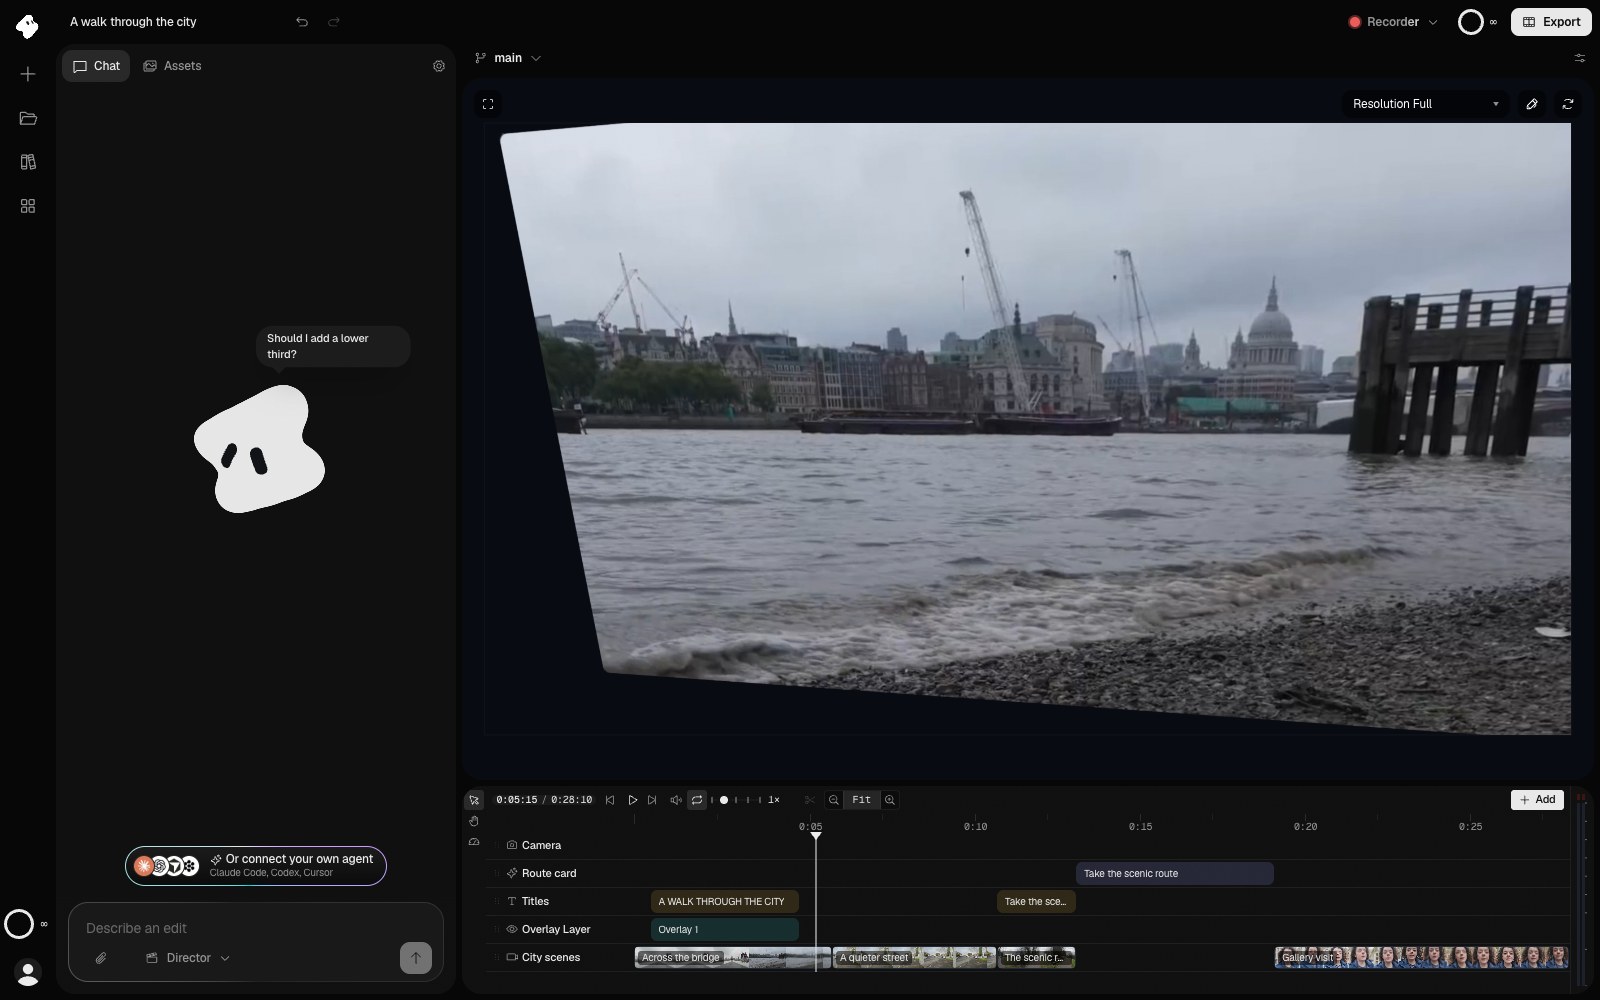
A gentle surface tilt changes the presentation of the shot. Review the frame edges, scale, and surrounding space with the Inspector closed.
Select the image to open the original full view.
Animate a supported control
A diamond beside a control indicates keyframe support. Place a keyframe at the starting value, move the playhead, and set the ending value. Use a short movement for an entrance or a gradual change across a longer clip.
Review the whole movement with the Inspector closed. See Animation and transitions for keyframes and Overlays and highlights for a localized tint, scrim, or highlight above footage.