 Vidova
Start with the right recording
Screen recordings are useful for tutorials, product demos, and narrated walkthroughs. Choose Recorder in the app navigation for available downloads, or import a video you have already recorded.
Follow Desktop recorder for the app’s capture workflow, Teleprompter for a reading script, or Install the CLI to record from a terminal.
An editable Vidova recording can retain separate screen, camera, audio, cursor, and keyboard information. Its recording controls depend on what the source contains. A flattened MP4 contains the finished picture and sound; it cannot recover a separate camera view or cursor path.
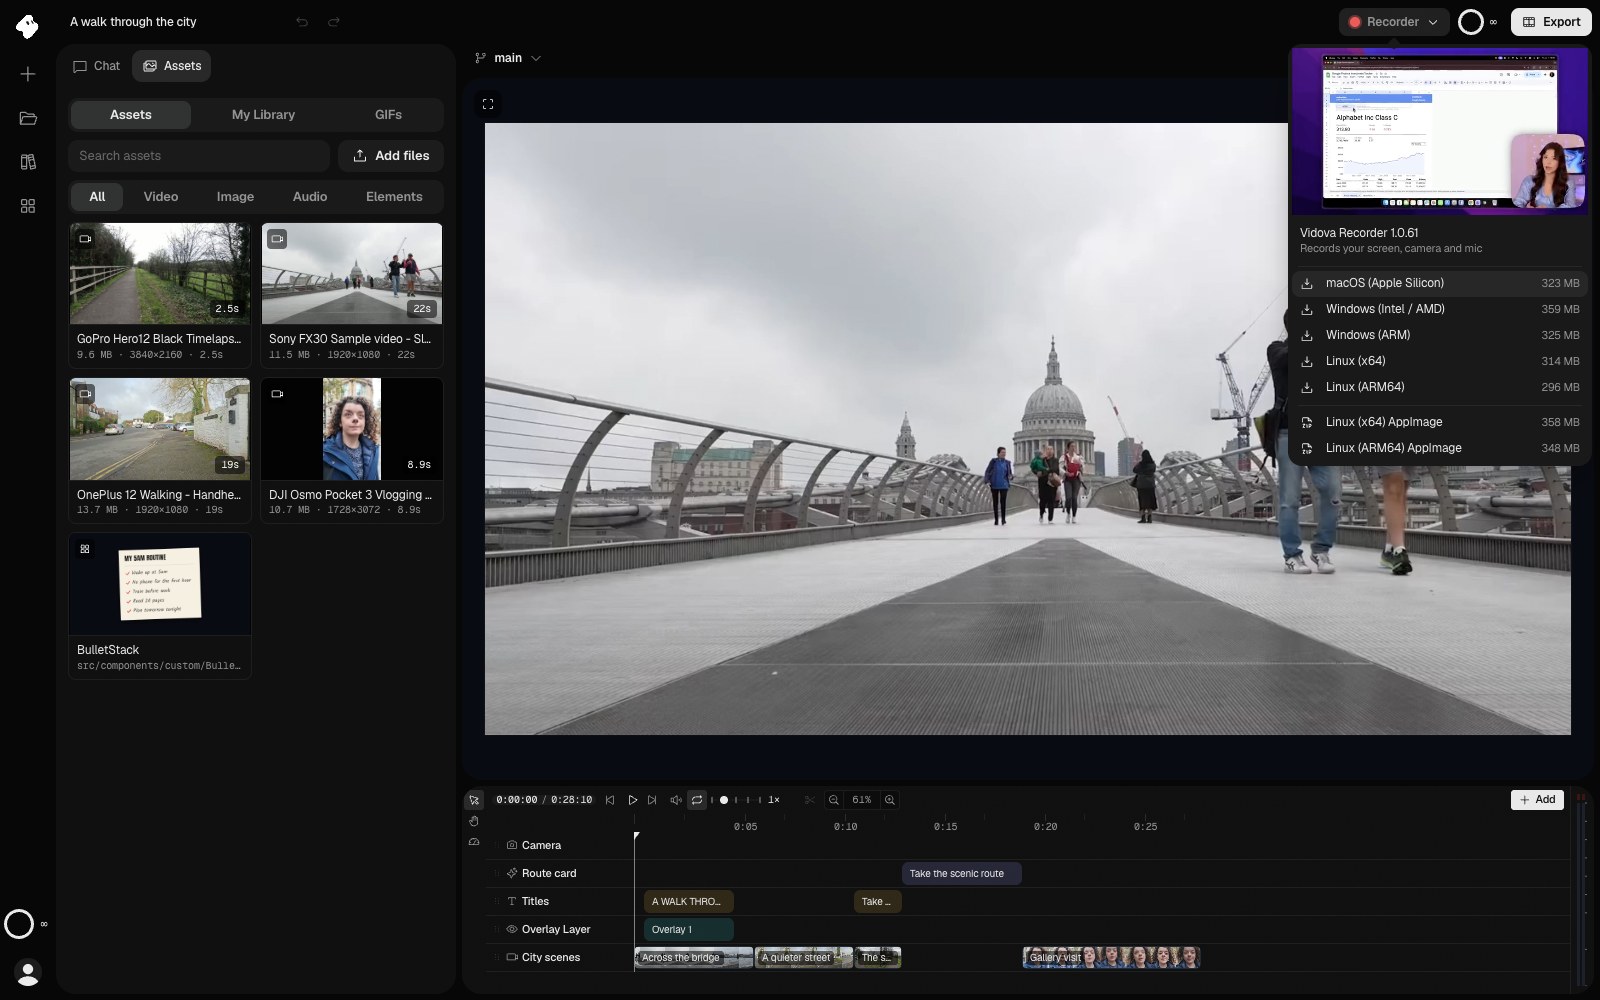
Open Recorder to choose an installer for your device. The web editor can also import existing recordings.
Select the image to open the original full view.
Frame the screen and camera
Select the recording clip and open its Inspector. Use Screen for screen framing and Camera for the camera view. Appearance controls the surrounding presentation, such as padding and rounded corners.
Choose a layout that keeps the important interface visible. A camera overlay should not cover the button, field, or result being explained. Check the composition at the project’s final aspect ratio.
Guide attention with zoom and cursor
Use Zoom to adjust how the view moves toward an area of the recording. The available settings include zoom and pan behavior, motion treatment, and the return to the wider view.
Use Cursor to control pointer visibility, style, size, and click sound. Keyboard controls the keyboard overlay when the recording provides that information.
Play the section after changing these controls. The viewer needs enough time to understand both where the pointer moved and what changed on screen.
Turn the recording into a finished video
Trim pauses, split the recording into useful sections, and add titles for each step. Keep narration audible and check captions for application names and technical terms. Where separate screen and camera audio are available, adjust them in the recording settings.
Use the same timeline, captions, animation, and export workflow as other footage. See What you can make for a tutorial brief and Exporting and sharing for delivery choices.