 Vidova
Record a walkthrough on your computer
The Vidova desktop app records your screen and brings the take into a local editing project. You can record without an account. The recording stays on your device until you choose to share it.
Download the installer for your device from vidova.ai/download. No sign-in is needed. You can also use Recorder in the web app. After installing, open Vidova and choose Start recording. If you already have a desktop project open, choose Record → Open recorder.
These screenshots show the macOS desktop app. The desktop app and browser editor have different layouts; a local desktop project is not automatically uploaded to your web account.
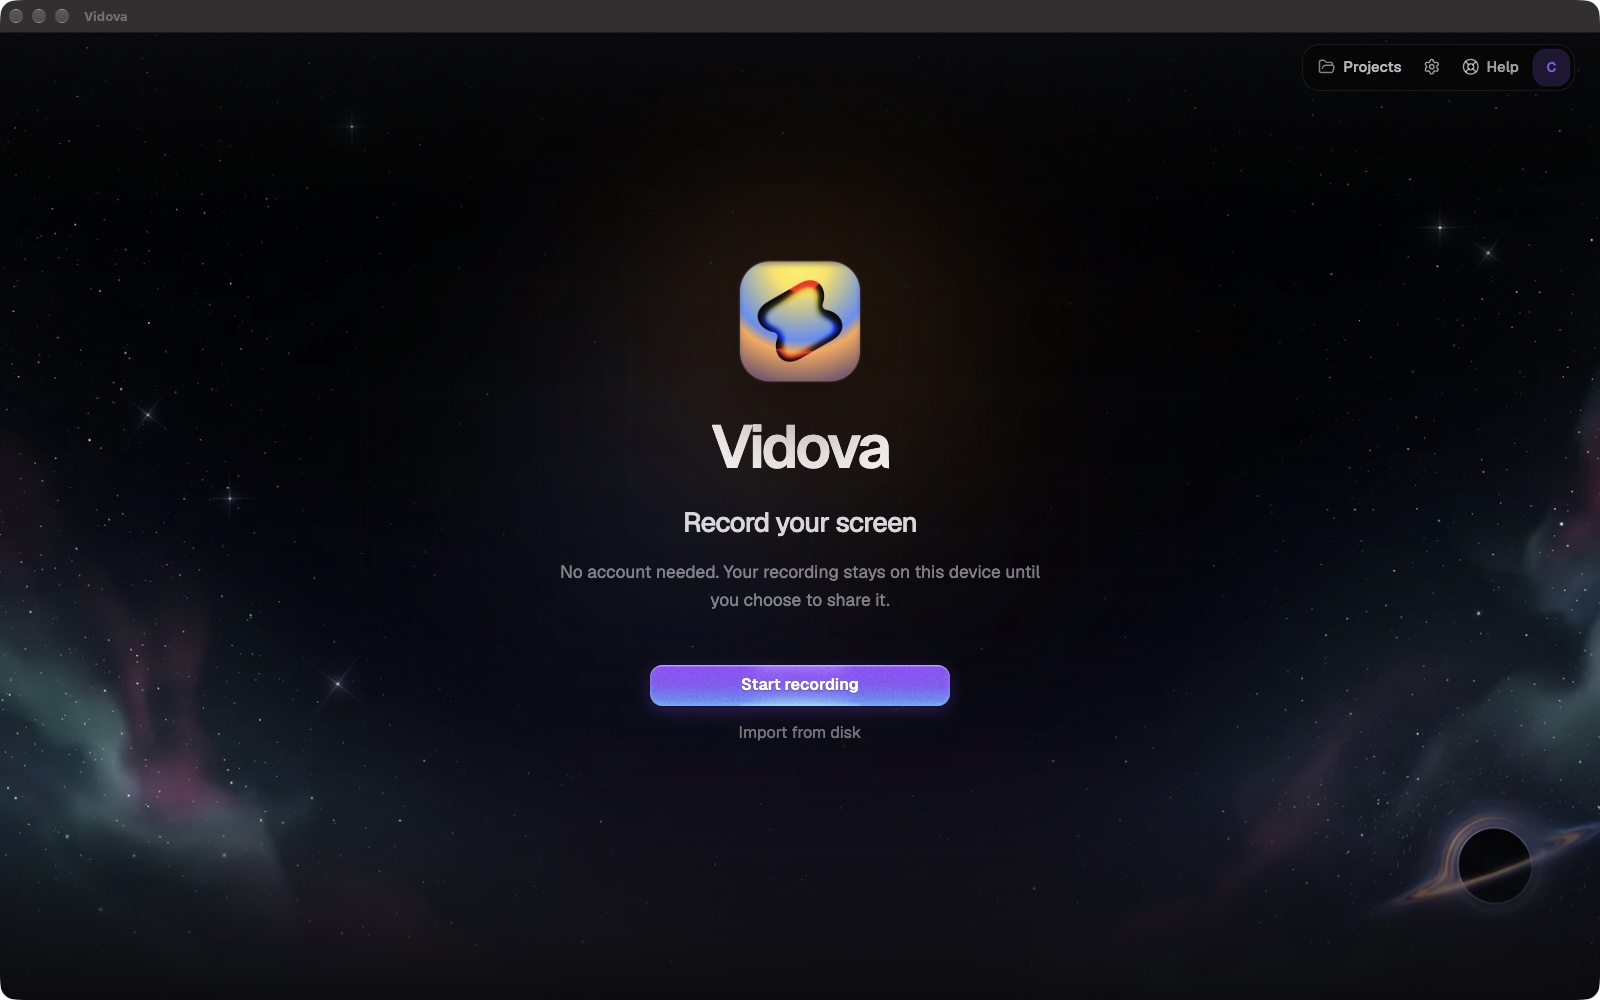
Start a local recording from the desktop home screen. An account is not required to record.
Select the image to open the original full view.
Choose what the recording includes
- Choose Display for a whole display or Window for one application window.
- Use the source arrows to select the target. Check its name and dimensions before starting.
- Select a camera if you want a camera track. Choose a microphone for your voice and system audio for sound from the computer.
- Leave unused inputs off. Camera, microphone, and system audio are separate choices.
For a product walkthrough, a dedicated demo window makes the capture easier to control. A separate macOS Space helps organize windows, but it is not a separate user account or a privacy boundary. Select the intended window explicitly.
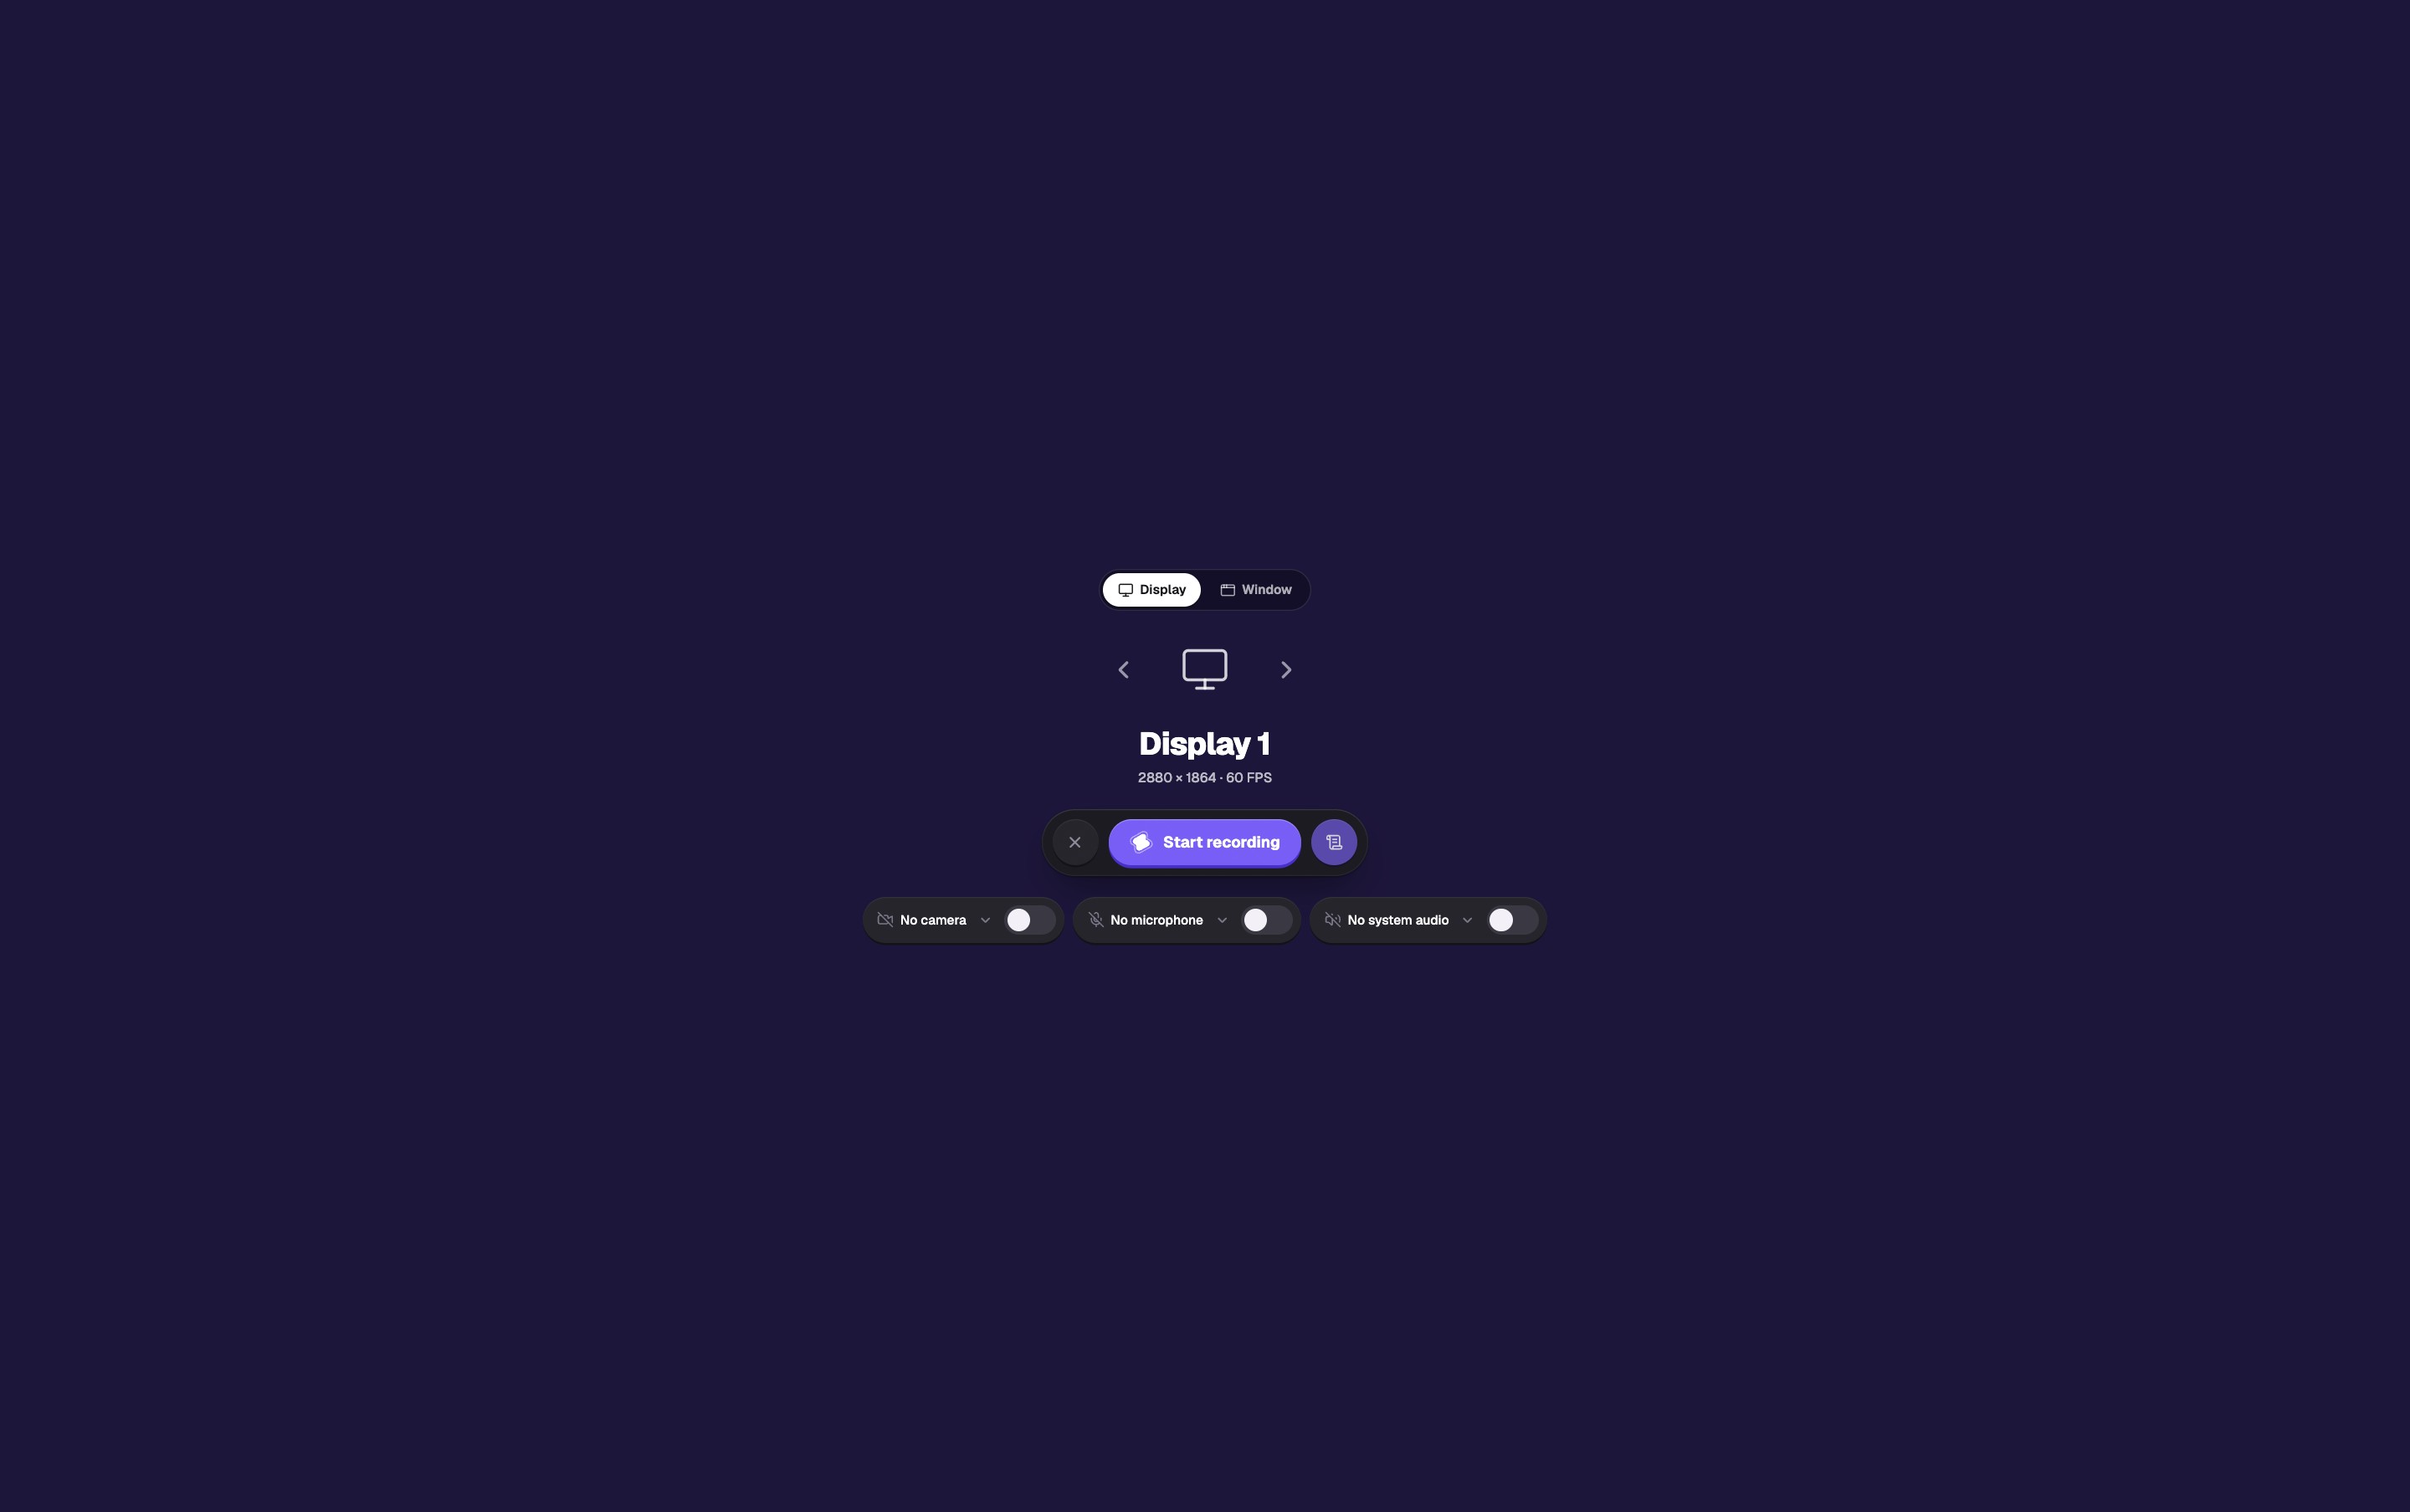
Choose the source and inputs before starting. This setup view has all three optional devices off.
- Enable only the camera and audio inputs you want in this take.
Select the image to open the original full view.
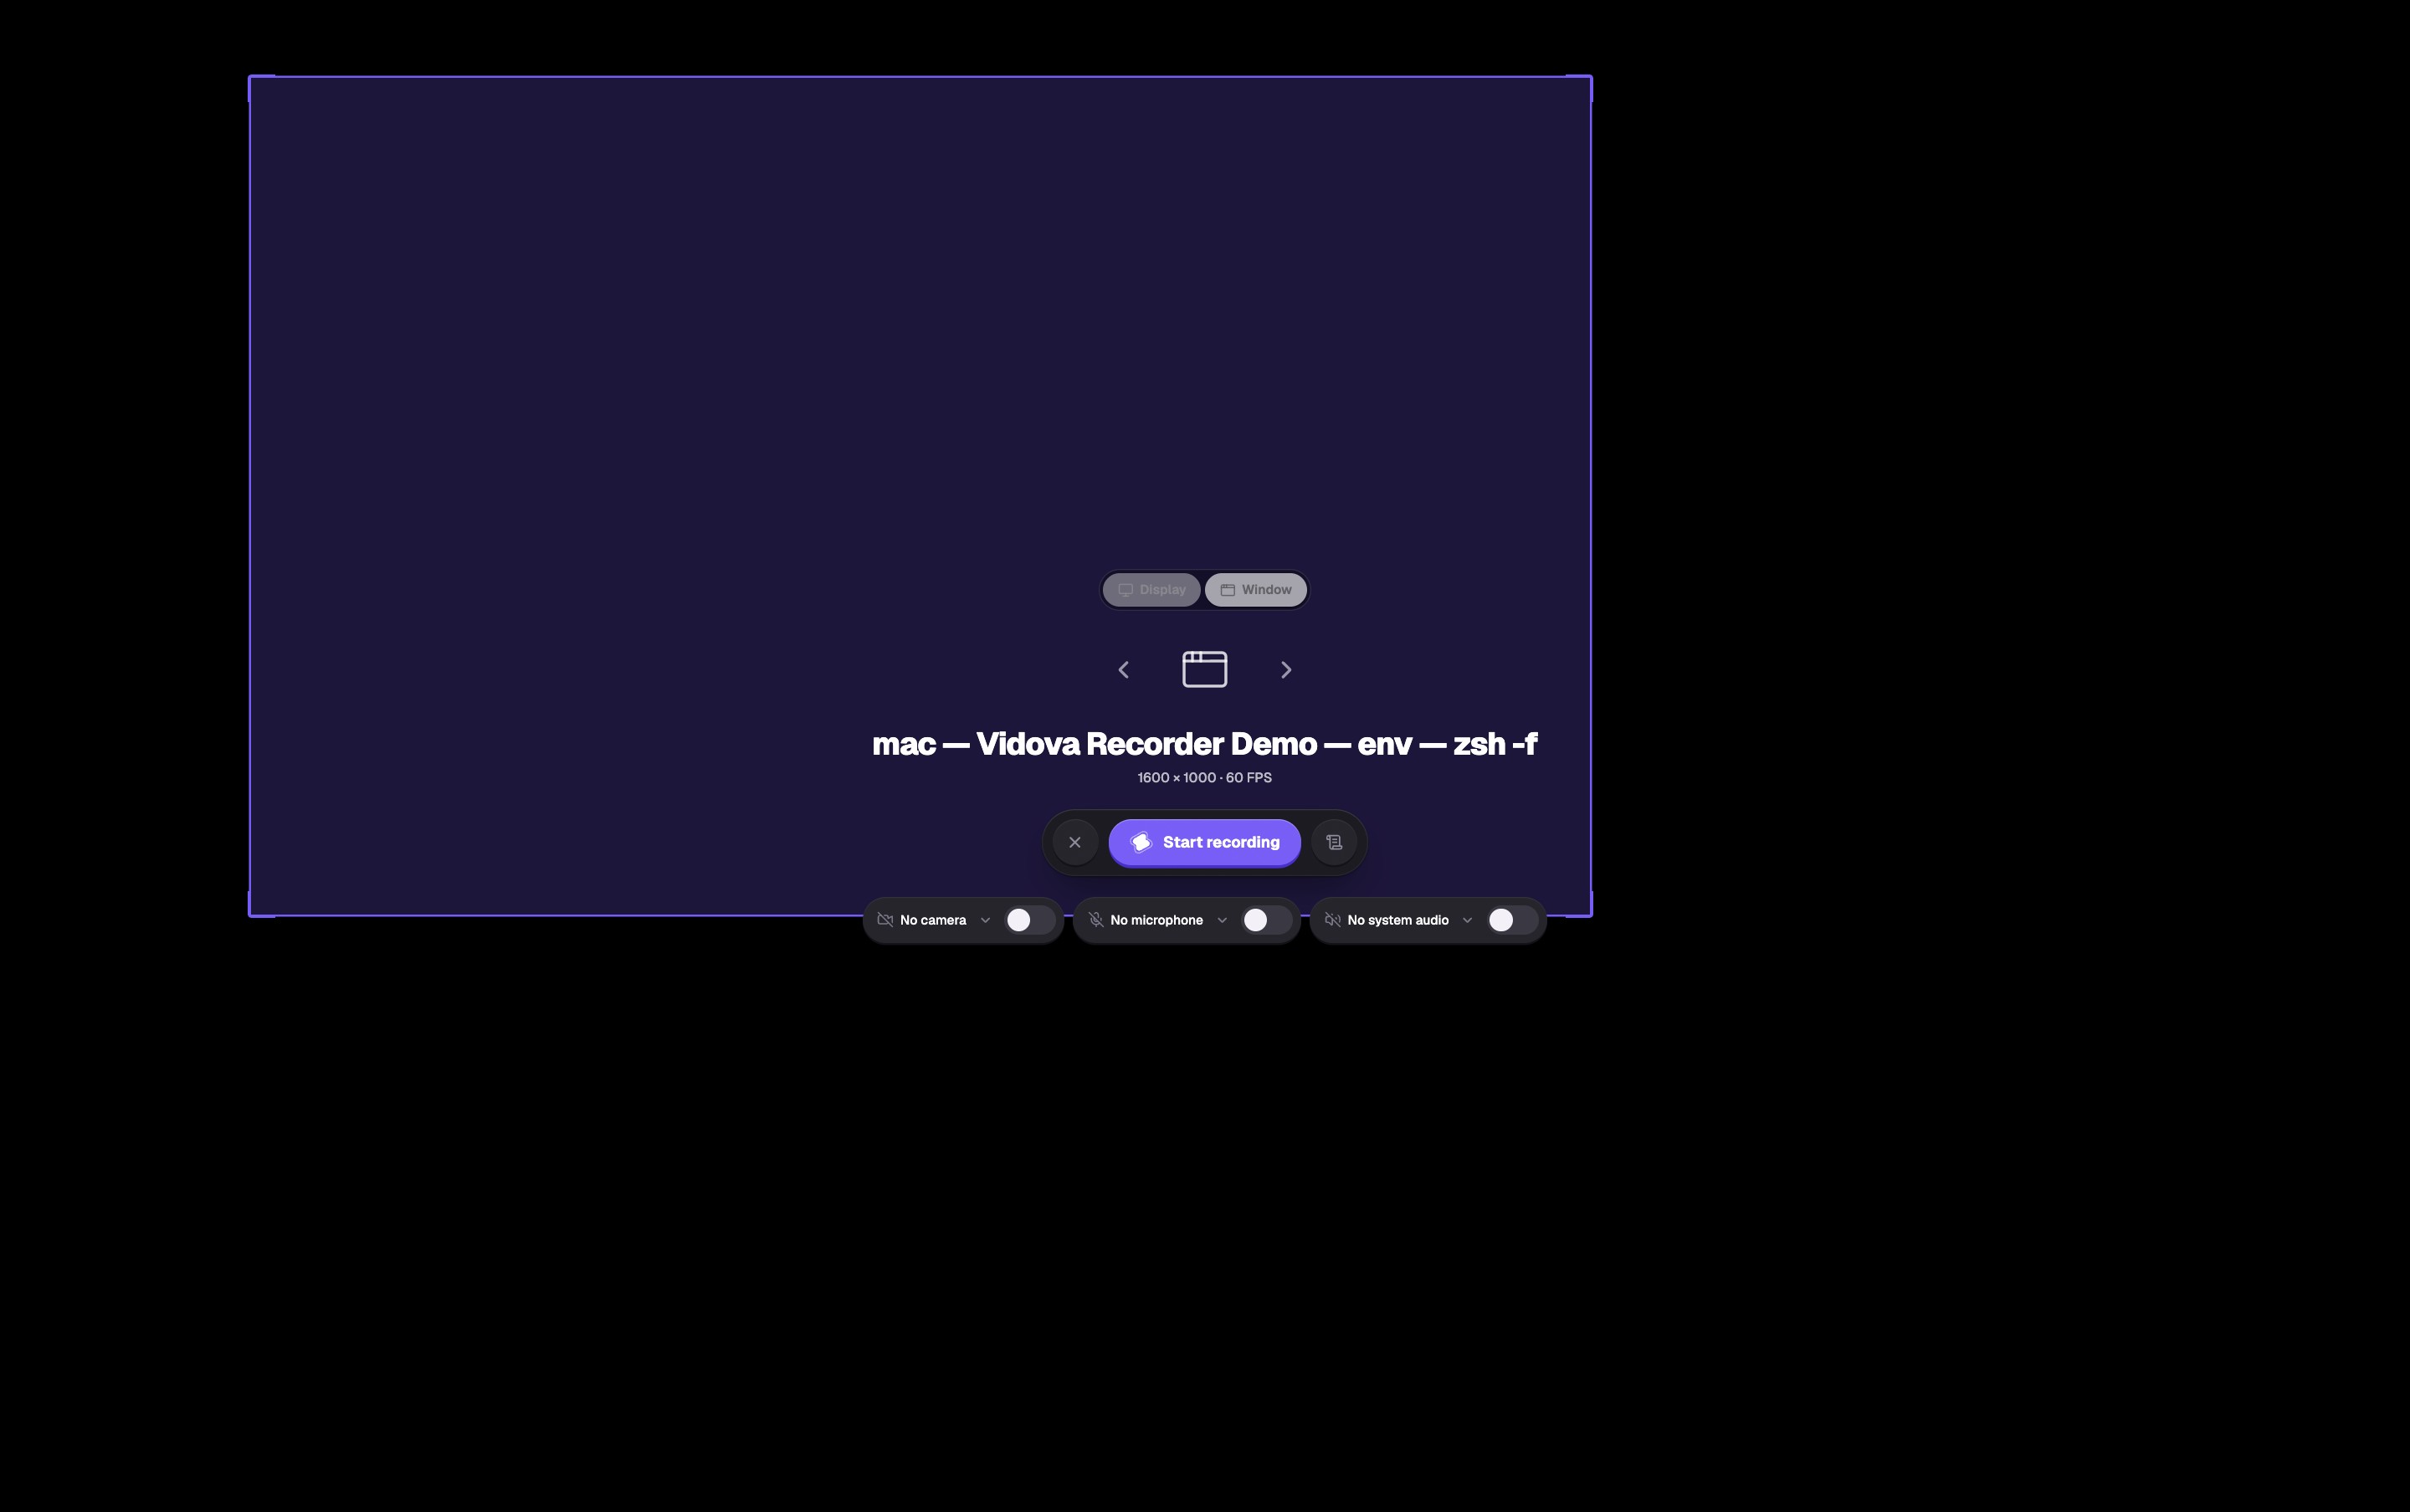
The source name identifies the clean demo Terminal window. Window capture limits this take to that window.
- Check the selected window’s title before starting.
Select the image to open the original full view.
Start, pause, and finish a take
Choose Start recording and wait for the countdown, if enabled. When no microphone is selected, Vidova asks whether to continue without one. Choose Record without microphone for a silent demonstration.
The recording bar shows elapsed time and controls for stopping, pausing, discarding, the teleprompter, and recorder settings. Use Pause when you need a break, then Resume to continue the same take. Stop finishes and prepares the recording; Delete discards it.
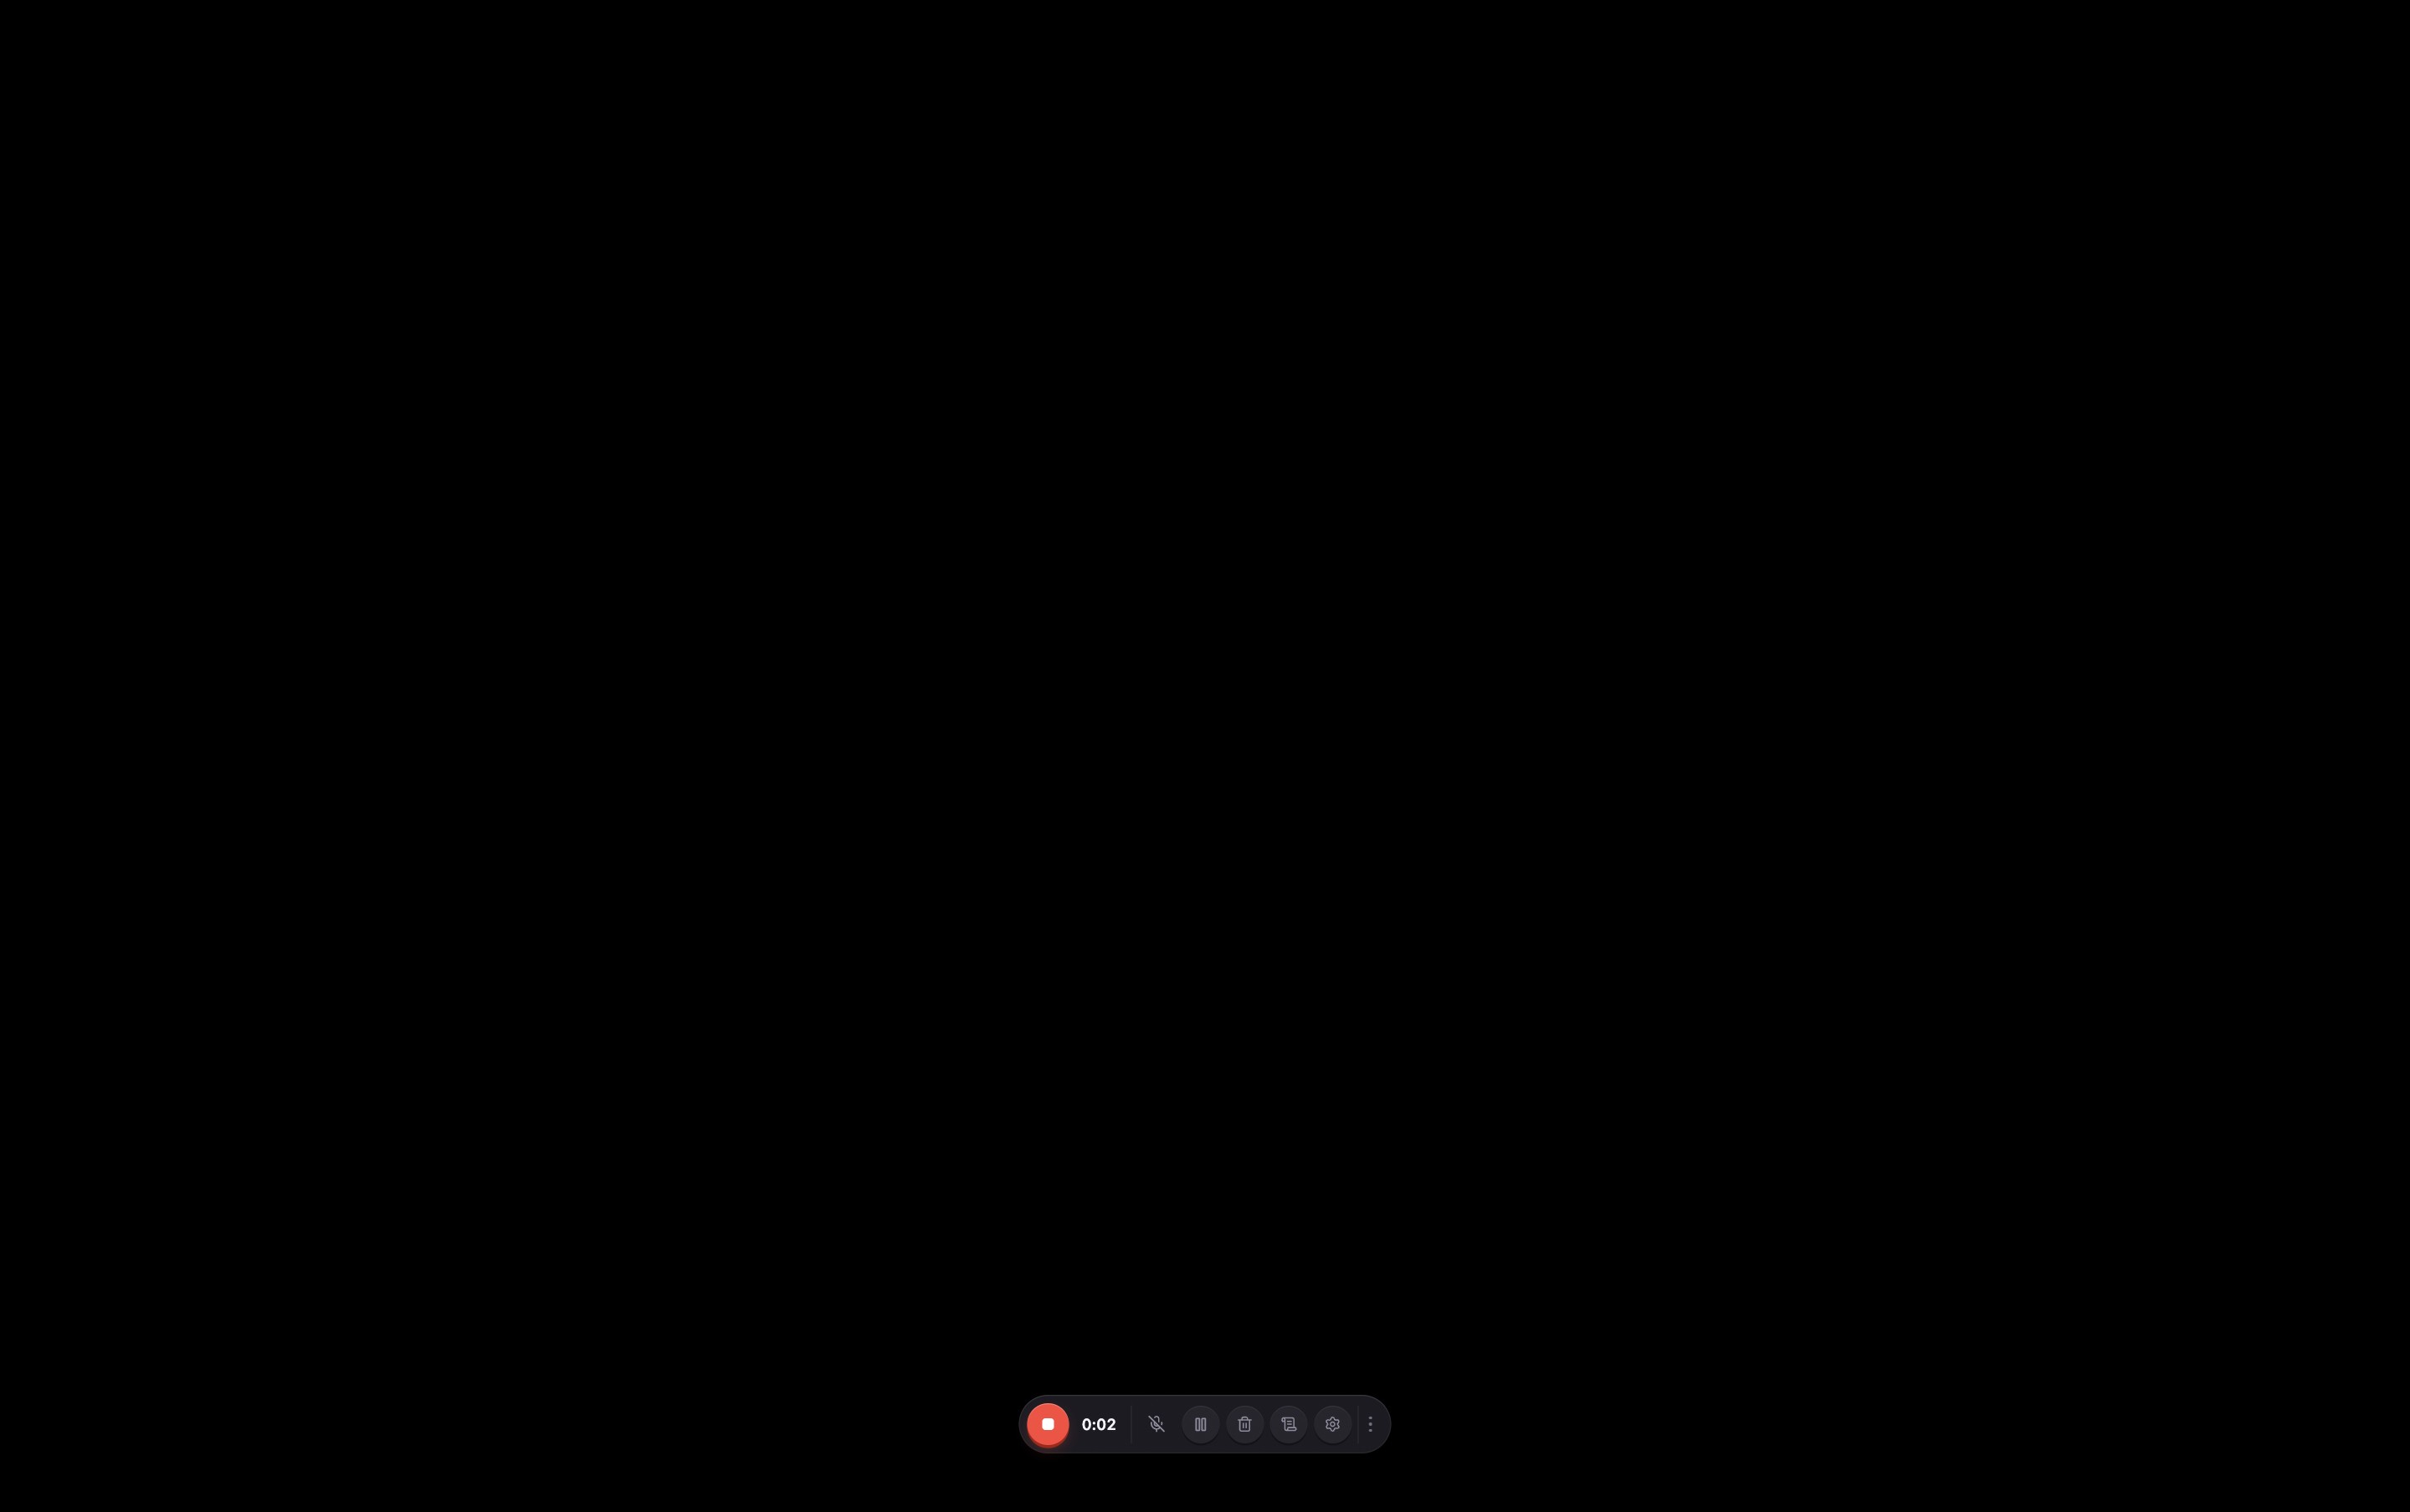
During a take, the recording bar keeps stop and pause within reach. This is the real demo recording at two seconds.
- Stop saves and prepares the take.
- Pause keeps the take open so you can resume.
Select the image to open the original full view.
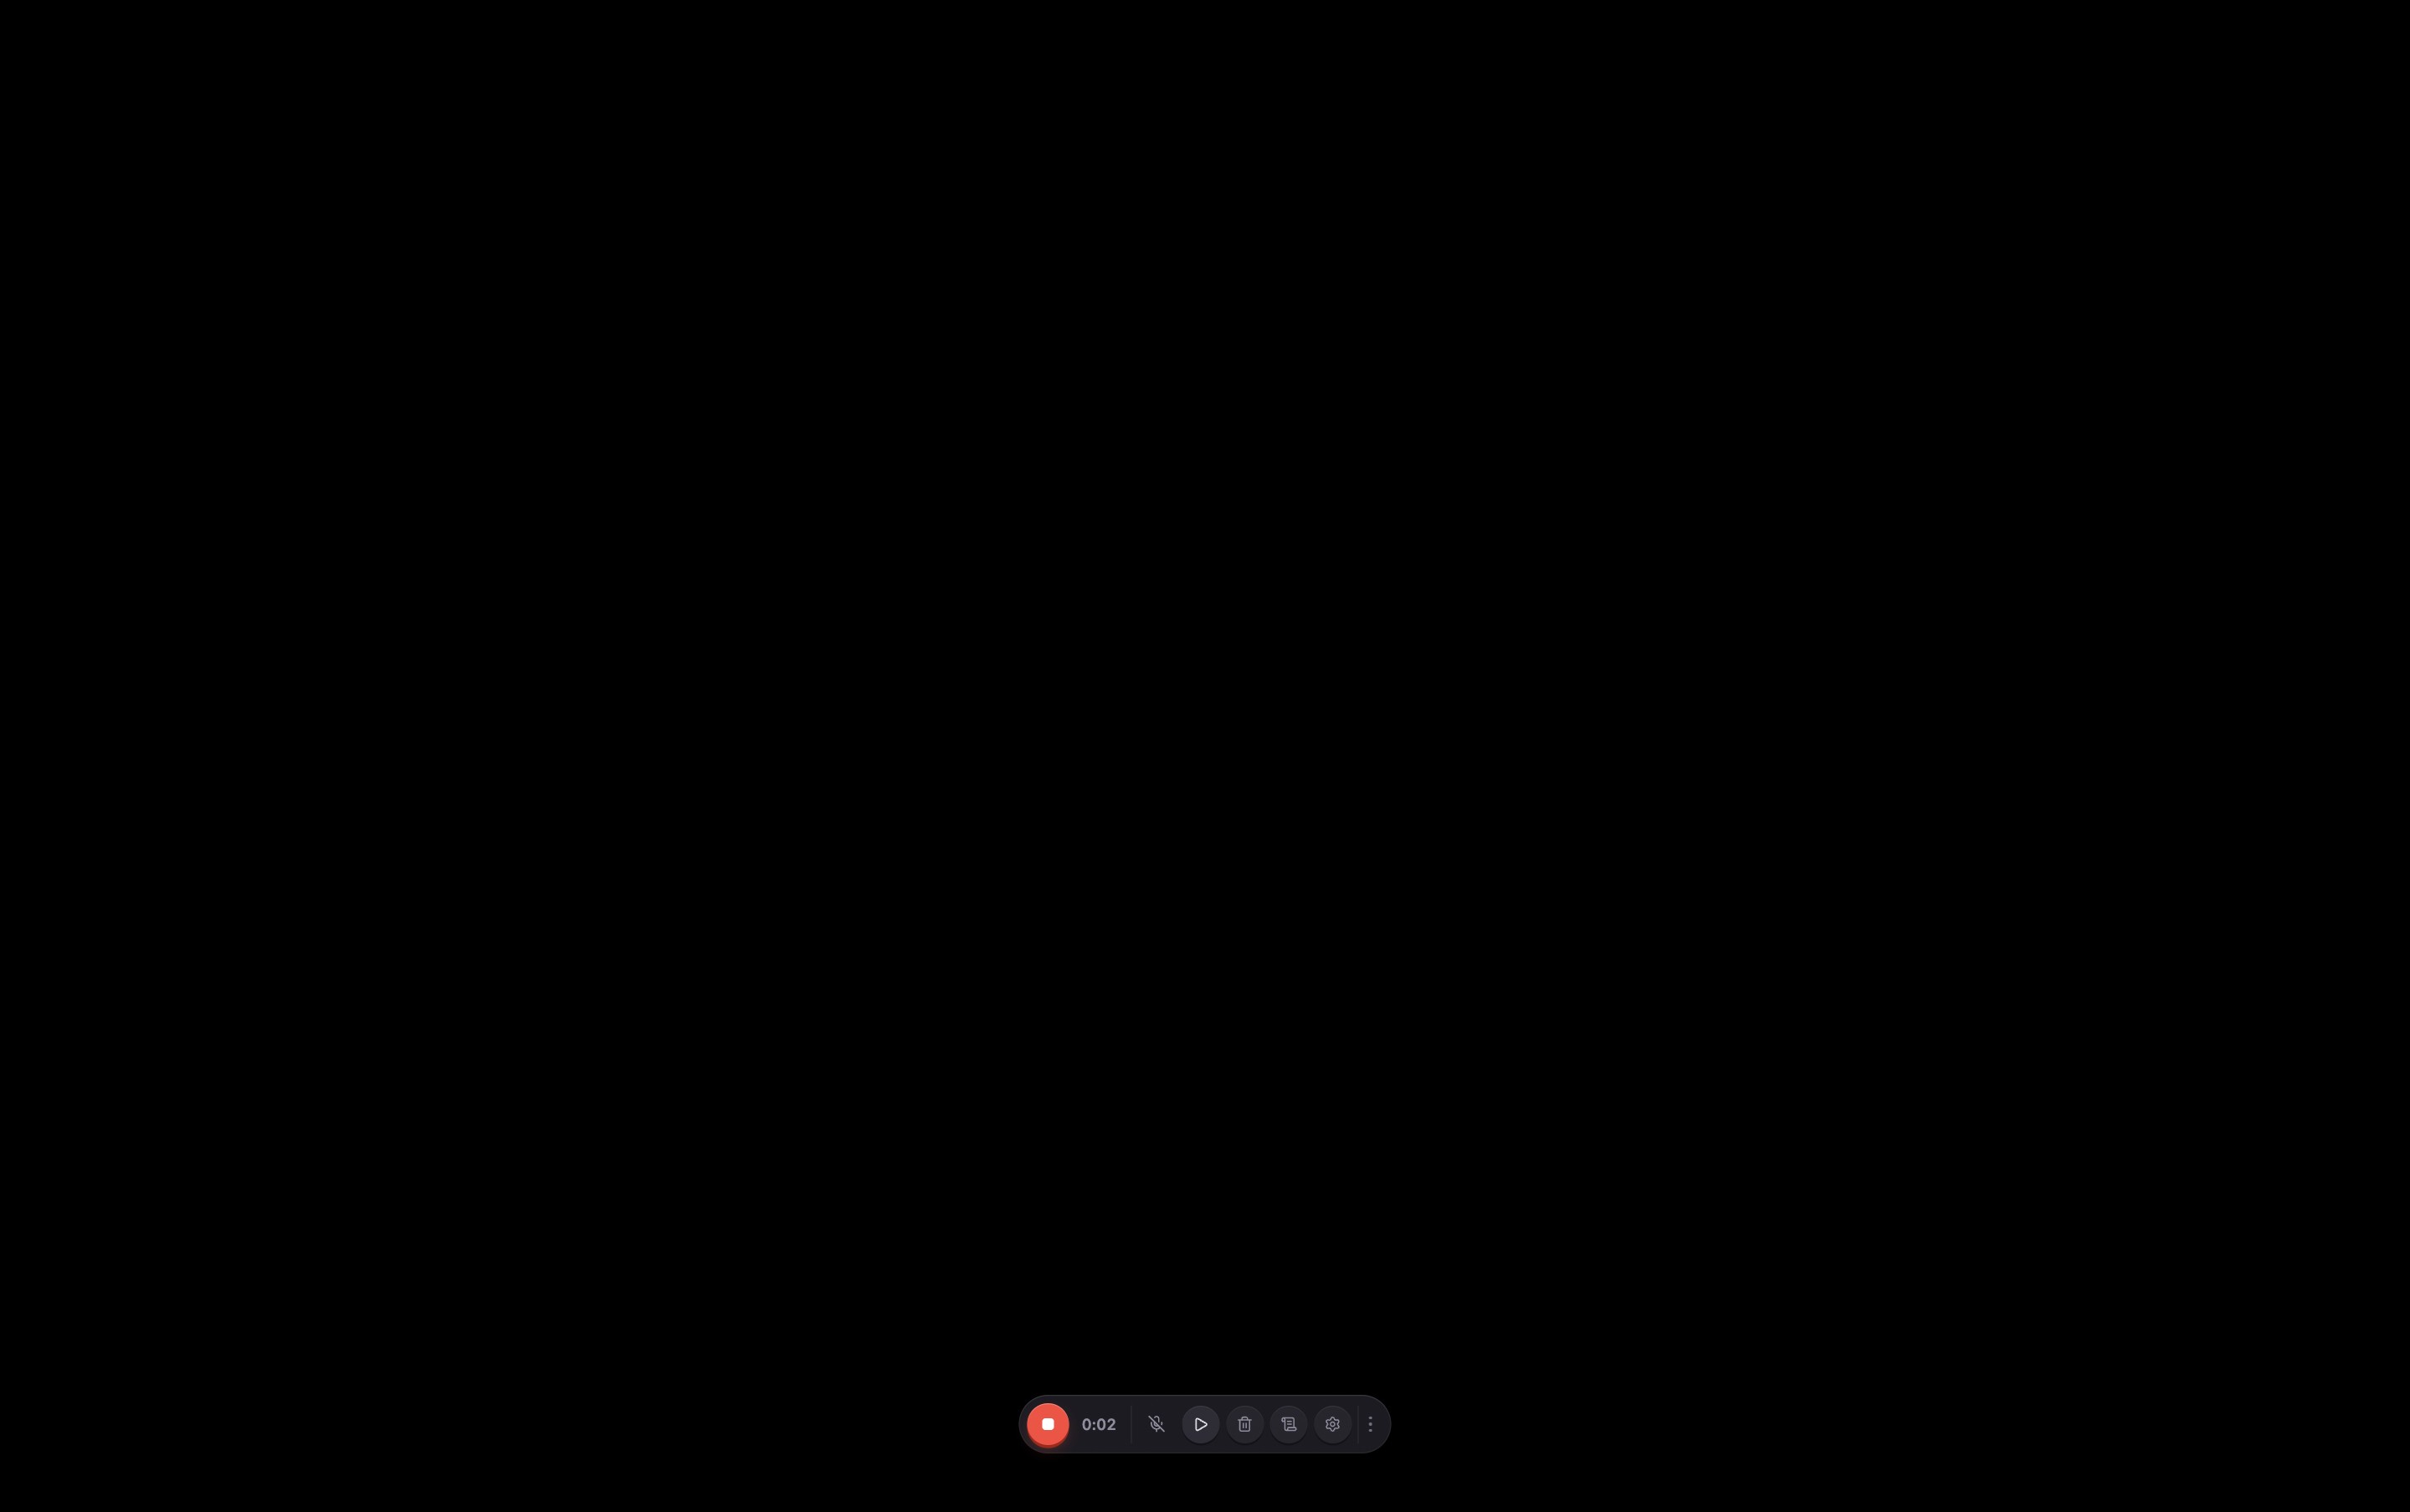
Resume continues the take. Stop finishes it; Delete discards it.
Select the image to open the original full view.
You can also control the recorder while another app is in front. See Recorder settings and shortcuts for the global shortcuts.
Review the imported recording
After you stop, wait for saving and preparation to finish. The recording appears in the desktop project’s Assets. An empty timeline can be assembled from the new recording, including its screen recording and zoom tracks.
Play the take and check the first and last moments, sound, cursor movement, and any camera track. Trim the setup and ending before adding titles or exporting. The example below is a real recording of the demo Terminal window.
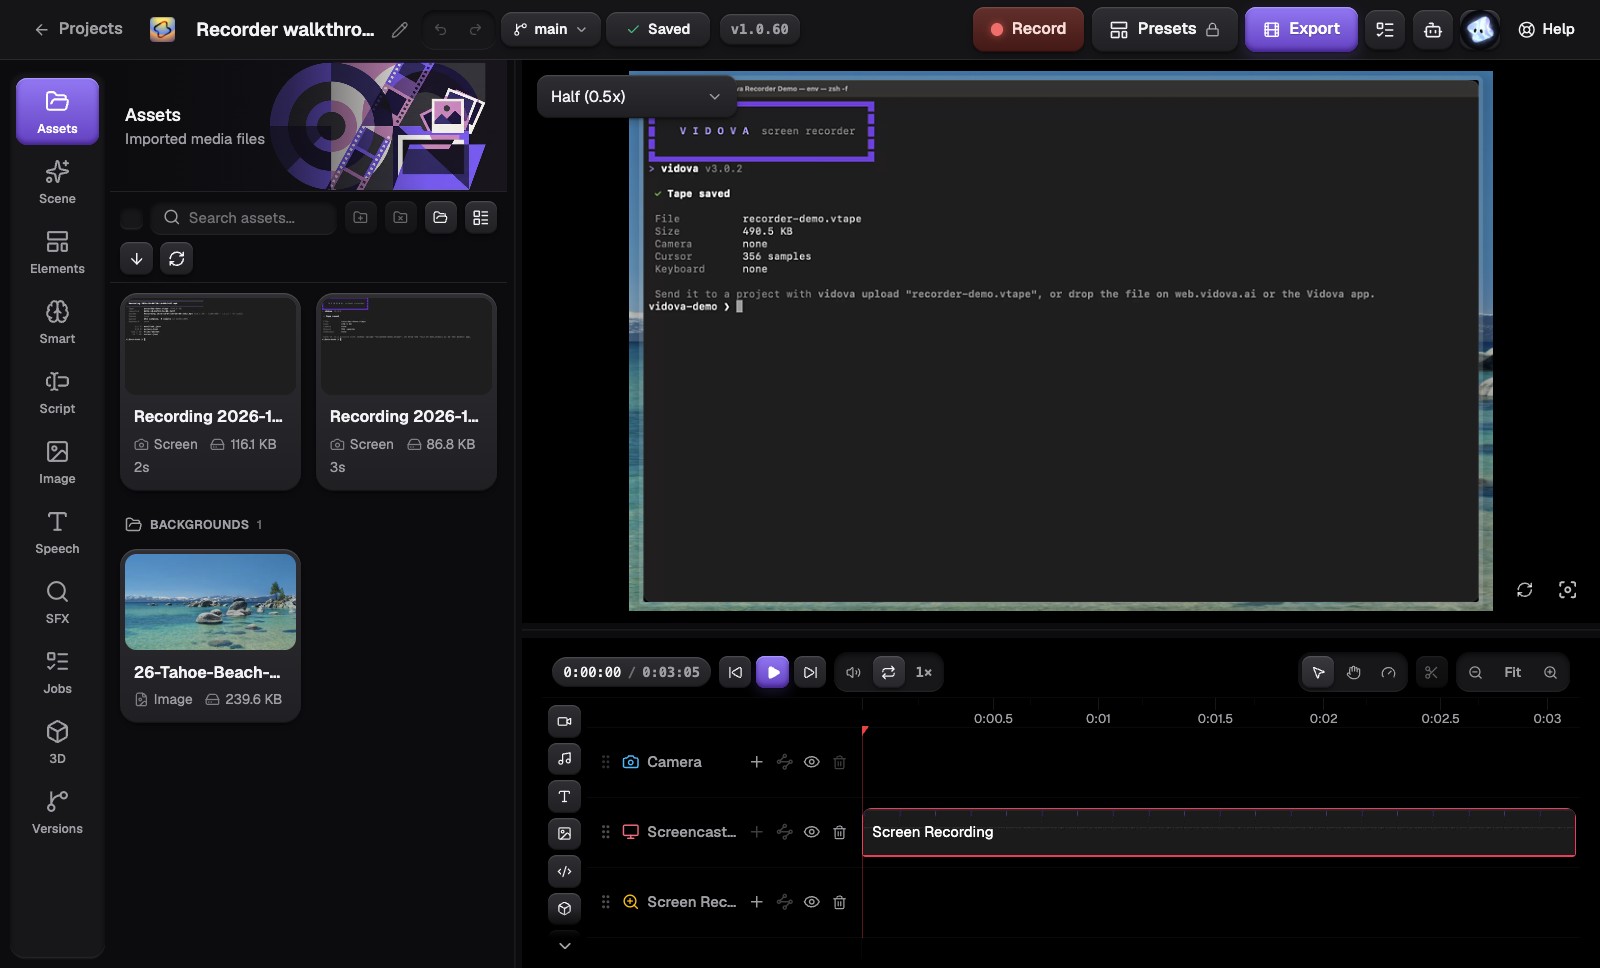
The completed take has been imported into the local demo project. Review it in the preview and timeline before exporting.
- The recording is available as a local project asset.
- Review the screen recording on the timeline.
Select the image to open the original full view.
For a portable recording with its available tracks, see Working with .vtape files. To send a tape or video to the web editor from a terminal, follow CLI sign-in and uploads.