 Vidova
Connect this terminal to your account
vidova login
vidova whoami
Login opens the browser sign-in flow and gives you a code. Sign in to the intended Vidova account, check that the code matches the terminal, and choose Connect. Return to the terminal and wait for completion.
Use vidova login --no-open to print the link without opening a browser automatically. vidova whoami confirms which account this terminal uses; vidova logout removes its saved sign-in.
Your browser account and terminal connection can differ. Check whoami before sending a recording to a project.
Choose an upload destination
vidova projects list
vidova projects create "Product walkthrough"
vidova projects default PROJECT_ID
Replace PROJECT_ID with a real ID from the project list. A saved default applies when you omit a destination. Use vidova projects default to inspect it or vidova projects default --clear to remove it.
You can also create the destination as part of an upload with --new-project. Choose either --project or --new-project for a command.
Send a tape or video to the web editor
vidova upload recorder-demo.vtape --new-project "Recorder walkthrough" --wait
vidova upload demo.mp4 --project PROJECT_ID --no-timeline
Upload accepts .vtape recordings and supported videos, including MP4, M4V, MOV, WebM, and MKV. A tape can carry camera, cursor, and keyboard data alongside the screen video.
By default, the recording can be placed on the project’s timeline if that timeline is empty. An existing edit is not replaced. Add --no-timeline to deliver the recording to project media without placing it on the timeline.
--wait waits for video processing. --no-open prevents the command from opening the editor automatically. Open the returned project link to review the imported material.
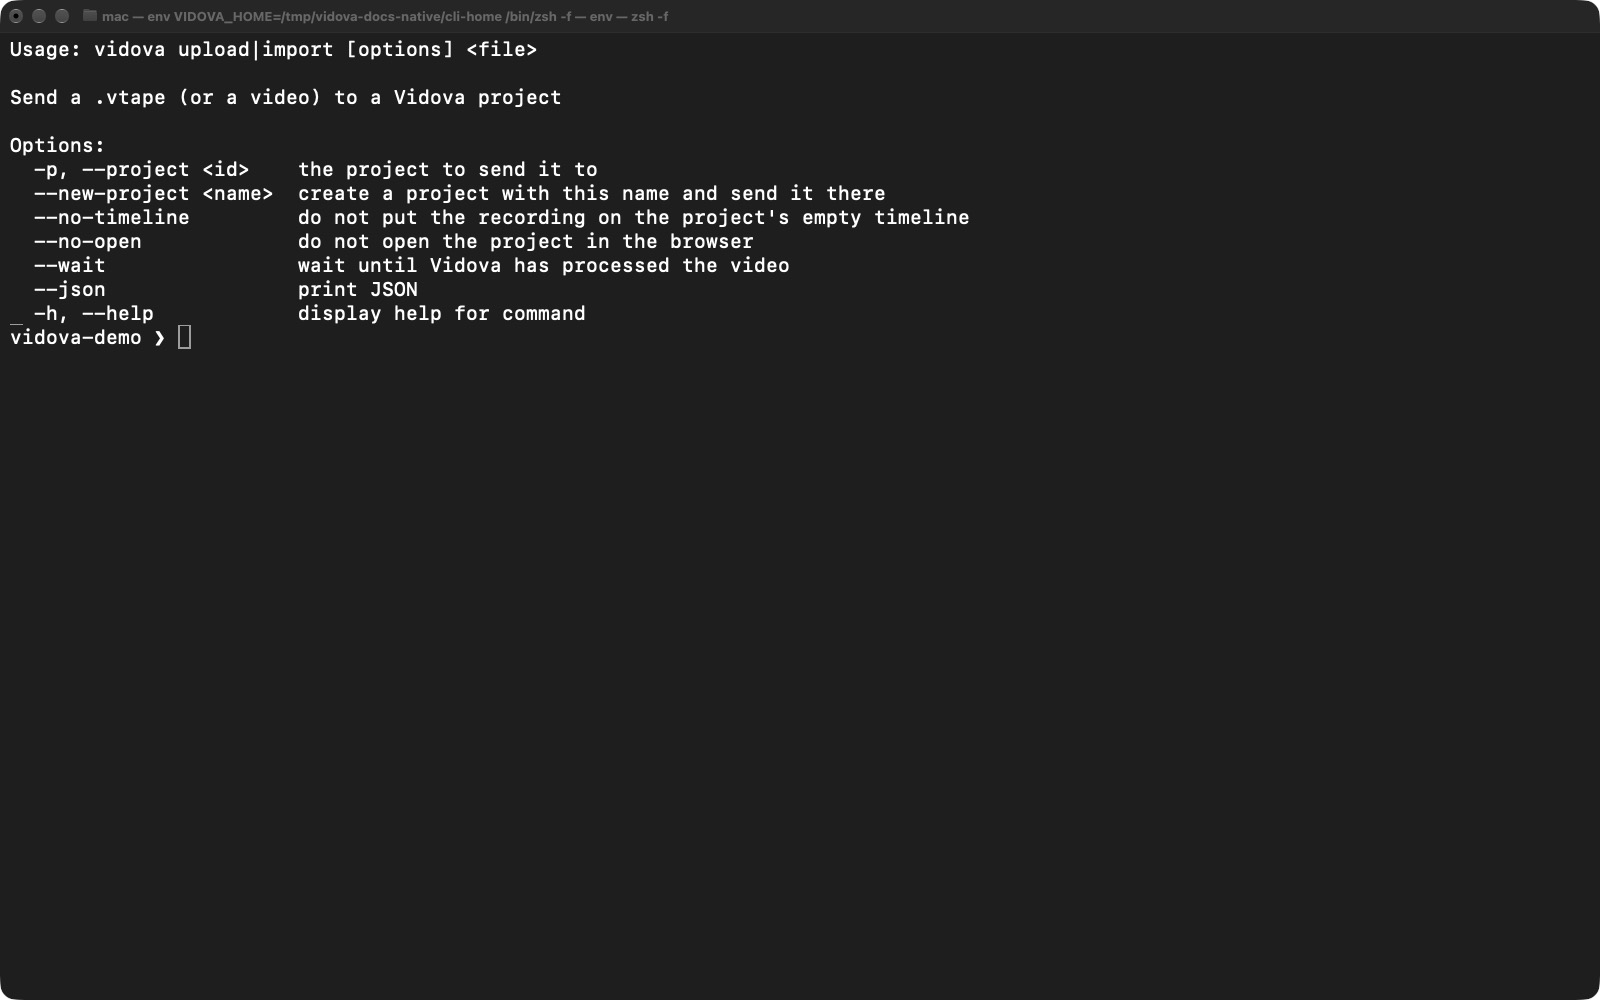
Upload controls destination and placement separately. --no-timeline keeps the recording in project media.
Select the image to open the original full view.
Use explicit destinations in scripts
vidova upload recorder-demo.vtape --project PROJECT_ID --wait --json > upload-result.json
vidova projects list --json
vidova whoami --json
--json returns structured output and does not open the editor after an upload. Supply a project or set a default so an automated upload does not need an interactive choice. Check the command’s exit status before using its result.
To upload immediately after a recording, add --upload, --project PROJECT_ID, or --new-project "Name" to the recording command. The two project flags imply upload. Cloud storage and processing still follow the connected account’s Plans and credits.