Vidova
How to make screen recordings automatically zoom into clicks
Five ways to zoom a recording into clicks, with platforms, prices and settings for Vidova Recorder, Screen Studio, Cap, FocuSee, Camtasia, OBS and DaVinci Resolve.
 Vidova team
Last updated
The short answer
Use a recorder that saves your clicks. Vidova is an AI video editor, and its free recorder runs on Mac, Windows and Linux and zooms on each burst of 2 or more clicks. Vidova can also find the clicks in a plain MP4. Other options are Screen Studio on a Mac, FocuSee or Camtasia on Mac or Windows, and Cap on Mac, Windows or Linux. OBS gives hotkey zooms with a plugin, and DaVinci Resolve lets you set each zoom by hand.
Key takeaways
- Automatic click zoom needs click data. A recorder such as Vidova Recorder, Screen Studio or Cap saves it during the take.
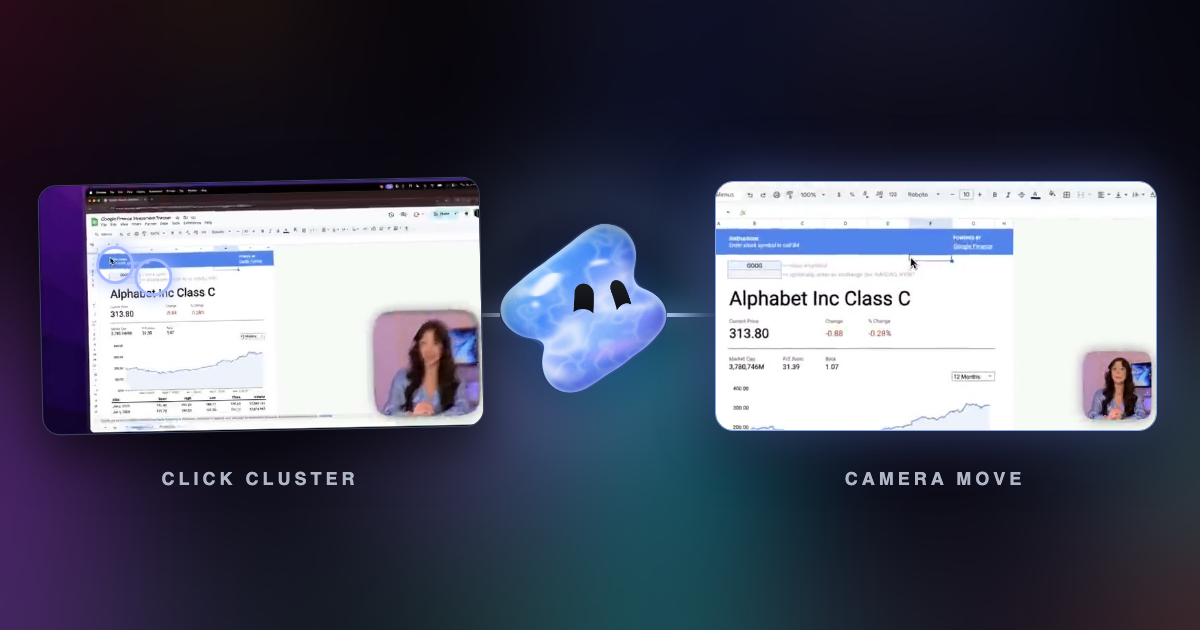
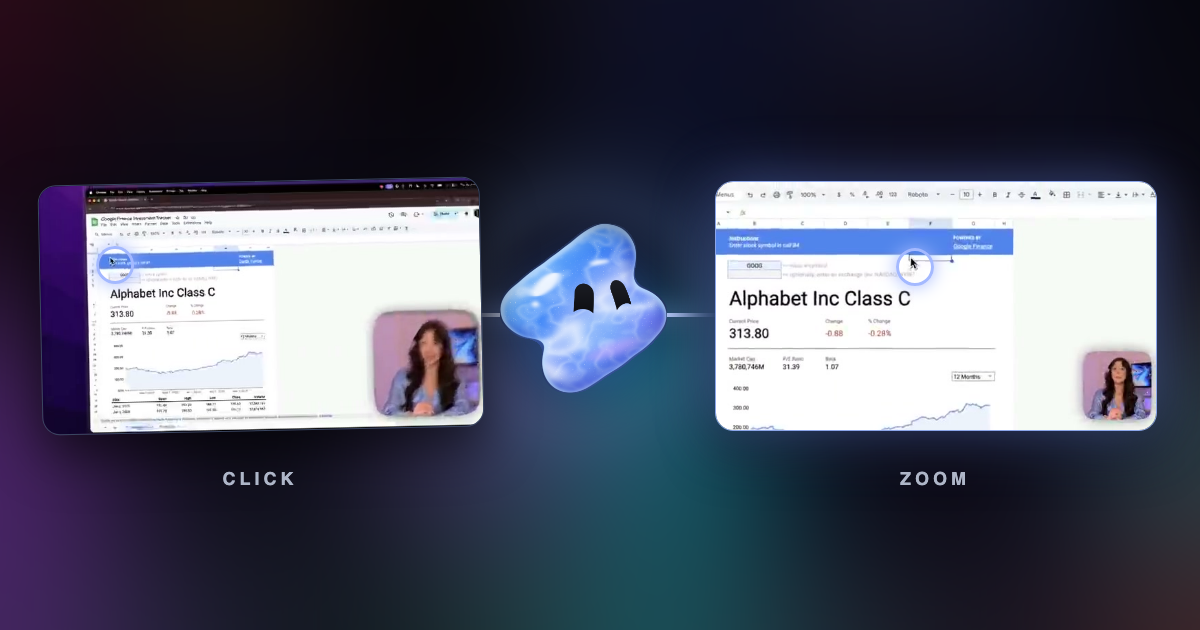
- Click in bursts where you want a zoom. Two or more clicks in one area within three seconds earn a zoom in Vidova.
- A plain MP4 has no click data. Cap's docs say an imported MP4 does not gain any. Vidova's Auto zoom tool reads the cursor and clicks from the picture.
- Review the zoom track before export. Delete or move any zoom that lands on the wrong part of the screen.
Five ways to get click zooms, compared
| Tool | Runs on | What starts a zoom | Price | Fits |
|---|---|---|---|---|
| Vidova Recorder | macOS 13+ on Apple Silicon, Windows 10+, Linux | 2 or more clicks in one area within 3 seconds | Free download, no account to record | Any of the 3 systems, with an AI editor for the same take |
| Screen Studio | macOS only, 13.1+ recommended | Where you clicked | $9 a month billed yearly, or $29 a month | Mac users, with exports up to 4K at 60 fps |
| Cap | Mac, 64-bit Windows, x86_64 Linux as a Debian package | Recorded clicks, when you press generate | Free for personal use. Desktop license $29 a year or $58 once | People who want an open source recorder |
| FocuSee | macOS, Windows | Clicks and typing | $19.99 a month or $49.99 a year. The free trial exports 1 video | Mac and Windows users who also want typing zooms |
| Camtasia | Windows 10 20H2+, macOS 14+ | Mouse moves, scrolling and clicks, on .trec recordings | Free editor with a watermark until you buy a plan | People who want a full timeline editor in the same app |
| Screenify Studio | macOS 13+ on Apple Silicon only | Clicks, typing and mouse dwell | Free at 1080p up to 5 minutes with a watermark. Pro $149 once | Mac users who prefer to pay once |
| Click & Record | Chrome, Edge or Brave, Chromium 116+ | Clicks inside web pages | Free, no account, no watermark | Demos that stay in a browser tab |
| OBS with Move Transition | Windows 10 and 11, macOS 13+, Linux | A hotkey you press | Free and open source | A few planned zooms in a setup you already have |
| DaVinci Resolve | Mac, Windows, Linux | Keyframes you set | Free. Studio $236, listed down from $295 | A finished video you cannot record again |
Prices and platforms change. Each row comes from the vendor's site, linked under Sources.
Why automatic zoom needs click data
A video file holds pixels. It does not know where you clicked. A recorder with automatic zoom saves the cursor position and every click as data next to the picture. The editor reads that data to decide where and when to push in. Cap's docs state the limit: imported MP4s do not gain click data during import.
So you have two choices for an automatic zoom. Record with a tool that saves the data, which is method 1. Or find the cursor and clicks in the picture, which is method 2.
Vidova Recorder and the Vidova CLI both save the cursor path, clicks and keys with the take.
Method 1: record with a tool that saves your clicks
This route fits a new recording, because you do not touch a keyframe. These steps use Vidova Recorder.
- Download Vidova for macOS, Windows or Linux and open it. You can record without an account.
- Choose Start recording, then pick a display or one window. Turn on the camera, microphone and system audio you need.
- Check that cursor tracking is on in the recording settings. It is on by default.
- Record your walkthrough. Start, pause and stop from the recording bar or with the global shortcuts.
- Stop. The take opens on a timeline with a screen track, a camera track and a zoom track.
- Play it through. Drag, deepen or delete any zoom, then export.
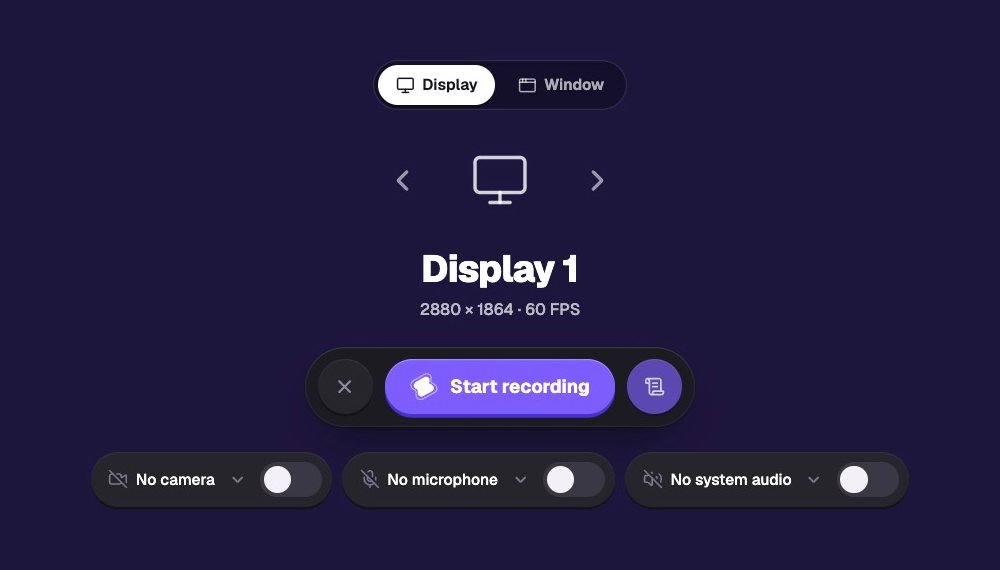
Other recorders work in a similar way:
- Screen Studio looks at where you clicked and zooms in on the moments that matter. It exports MP4 in 720p, 1080p or 4K at up to 60 fps. It runs only on macOS.
- Cap generates zooms when you select Click to generate zoom segments on a Studio Mode recording. You can also draw your own from 1x to 4.5x.
- FocuSee follows clicks and typing with no manual keyframes. Its free trial exports one video at up to 4K.
- Camtasia has SmartFocus, which adds zooms and pans to .trec recordings from mouse movements, scrolling and clicks.
- Screenify Studio detects clicks, typing and mouse dwell. Its own guide gives a range of 1.5x to 4x and a default hold of 1.2 seconds.
How to record so the zooms land well
- Move the cursor to the target before you click, and pause for half a second. The zoom starts 0.45 seconds before the first click, so the camera has settled when you click.
- Do related clicks together. Filling three fields in one form gives one zoom on the form, not three short ones.
- Leave a beat after the last click. The zoom holds 1.1 seconds after it so viewers see the result.
- Do not circle the cursor while you talk. Vidova ignores a still or wandering cursor, but a smooth path still reads better.
- Record a window instead of a full display when you can. The zooms then stay inside the app you are showing.
- Record at a capture width of 1920 or 2560 pixels. A 1.5x zoom shows about 853 pixels of width from a 1280-pixel take, and about 1,707 from a 2560-pixel take.
Vidova's automatic zooms follow these rules. One area means within 18% of the frame's diagonal. A zoom lasts at least 2.8 seconds and at most 10 seconds. Two zooms less than 1.4 seconds apart become one. At most 65% of a clip is zoomed, and the zooms with the fewest clicks go first. The default depth is 1.5x.
Method 2: add zooms to a recording you already made
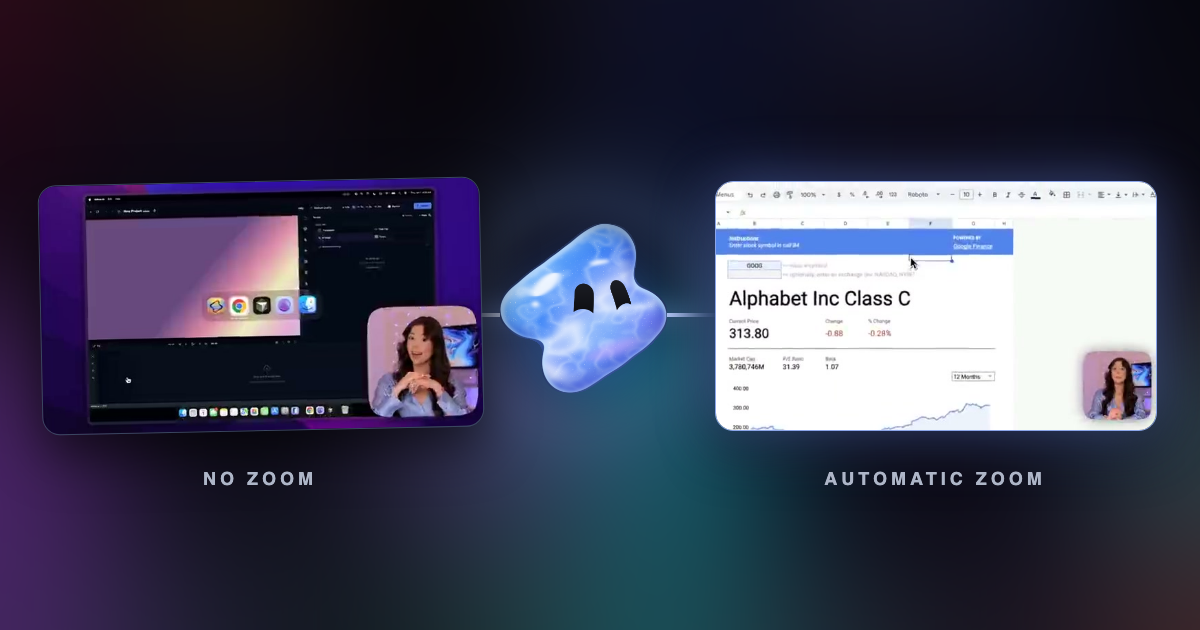
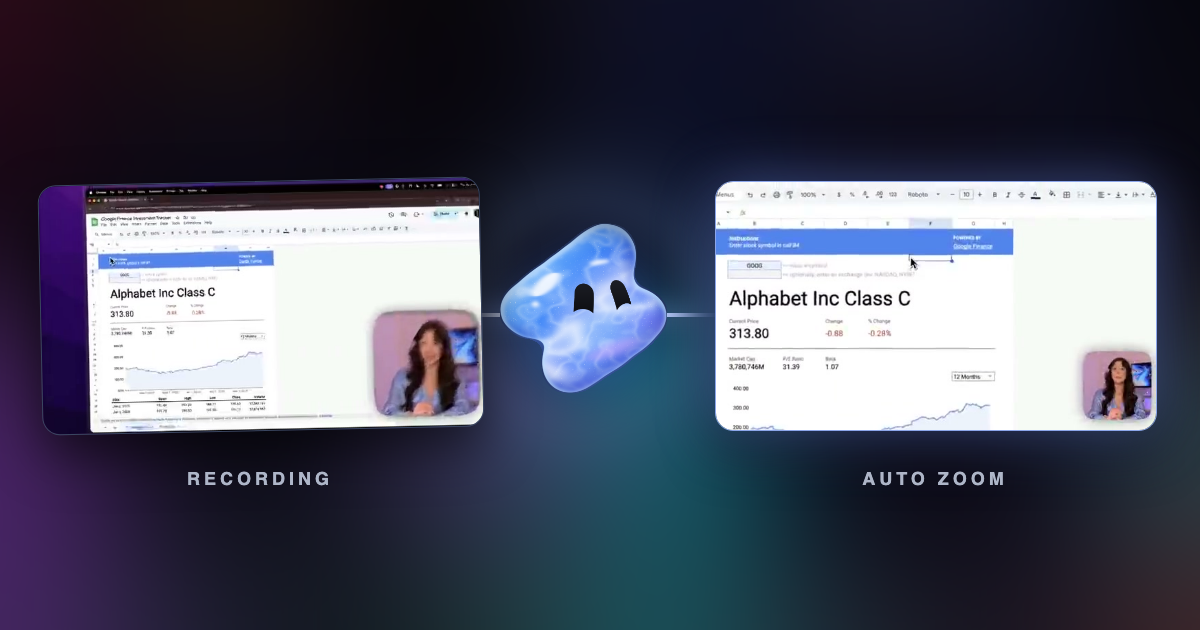
Use this route when the take is done. Vidova's free Auto zoom tool finds the cursor on every frame and reads each click. It works on a computer recording from any recorder, such as QuickTime, OBS, Loom, Zoom or the recorder in Windows. The video zooms to 1.8 times on each click, and clicks close together share one zoom.
- Without signing in, it zooms the first 10 seconds of a recording, 2 times a day, and the video has the Vidova mark.
- With a Vidova account, a recording can be up to 10 minutes long. Cursor tracking uses about 47 credits a minute of recording.
- In the Vidova editor, you can ask the agent for the same thing, then ask it to move, lengthen or remove a zoom.
This is a screen recording. Zoom in on every click and follow the cursor.
Cursor tracking runs in the cloud, so the video is uploaded. A video uploaded without signing in is deleted a day later.
Method 3: record a web app from the browser
Click & Record is a free extension for Chrome, Edge or Brave. It logs each click's position and time, and its editor builds the zooms after the take. It detects clicks only inside web pages, so clicks in other apps do not zoom.
Zoomingscreen is a Chrome extension that also has a desktop app for Windows, macOS and Linux. Its free plan includes 2 days of exports up to 1080p with its mark. Standard is $14.99 a month, and Pro is $49.99 once.
This route fits a demo that stays inside one browser tab.
Method 4: press a hotkey in OBS
OBS Studio is free and open source, and its site does not list automatic click zoom. The Move Transition plugin moves sources to a new position during a scene transition, and a hotkey can start the move.
To use it, make a second scene with the screen source scaled up. Set Move as the transition, and give each scene a hotkey. You then press the hotkey each time you click, and the zoom goes only where you placed that scene. This fits a short demo with a few planned clicks.
Method 5: set keyframes by hand in an editor
This works on any video, and it takes the most work. In DaVinci Resolve, select the clip, set a value in the Inspector, click the keyframe button, move the playhead and set the next value. The free version does this, and it runs on Mac, Windows and Linux. For one slow push across a whole clip, turn on Dynamic Zoom in the Inspector instead.
- Find the frame where the click happens.
- Set a Zoom keyframe at full frame about 0.45 seconds before it. That is about 14 frames at 30 fps.
- Move to the click, set Zoom to about 1.5x and move the position so the click stays in the frame.
- Hold for about 1.1 seconds, which is about 33 frames at 30 fps, then set the zoom back.
These are Vidova's automatic timings, used here as a starting point. Change them to suit your video.
Fix a zoom by hand in Vidova
Every automatic zoom is a clip on the zoom track. Select one to change its depth from 1x to 8x, its start and end, or how the camera moves in and out. Delete a zoom you do not want. To add one where you did not click, place the playhead and add a Zoom from the Add menu.
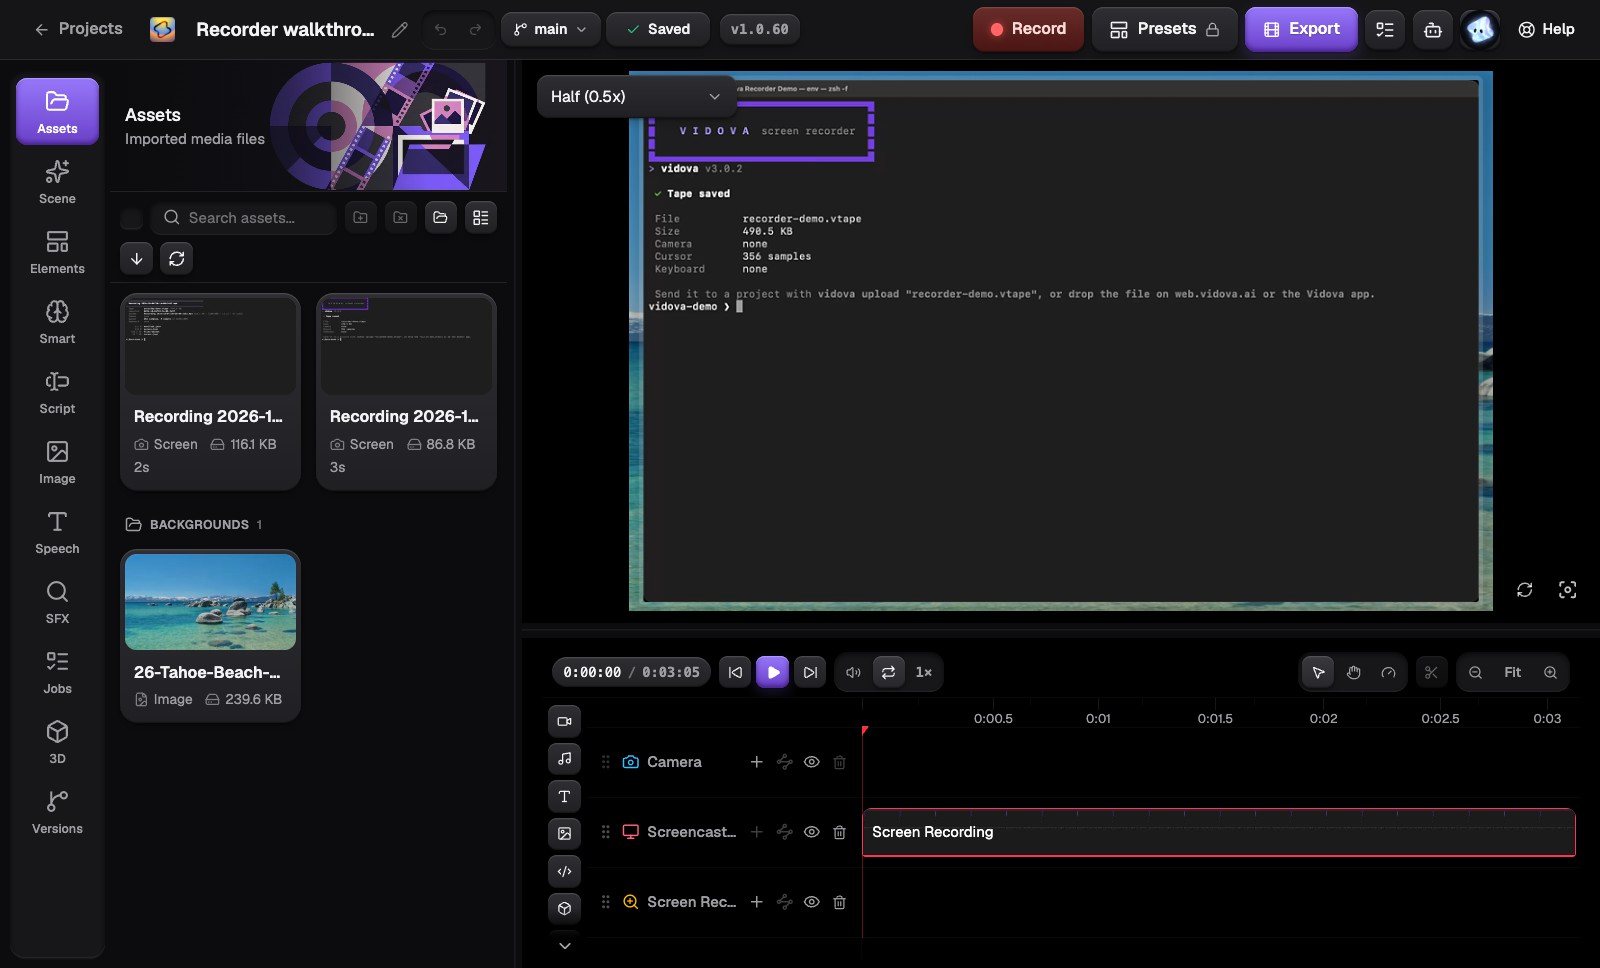
The recording opens in Vidova's AI editor, where you say what you want and the agent makes the edit. You can export an MP4, Premiere Pro FCPXML or DaVinci Resolve OTIO.
What goes wrong, and how to fix it
| Problem | Cause | Fix |
|---|---|---|
| A single click gets no zoom | Vidova Recorder needs 2 or more clicks in one area within 3 seconds | Add a Zoom from the Add menu, or click twice in that area on the next take |
| The last click has no zoom | Vidova drops the last press, because it is usually the click that stops the recording | Add a Zoom by hand, or make one more click before you stop |
| A zoom lands on the wrong part of the screen | The zoom follows the cursor, and the cursor moved away from the work | Select the zoom and change it, or delete it |
| Two zooms became one | They were less than 1.4 seconds apart | Leave a longer pause between the actions, or change the zoom by hand |
| A busy take is missing zooms | Vidova zooms at most 65% of a clip | Add the zoom you want by hand |
| A recording has no zooms at all | Track cursor is off, or the file is a plain MP4 | Turn on Track cursor in Settings, Recording, or use the Auto zoom tool |
| Text looks soft inside a zoom | The capture width is low for the zoom depth | Record at 1920 or 2560 pixels wide, or use a shallower zoom |
| The recorder does not run on your computer | Screen Studio and Screenify Studio run only on macOS | Use Vidova Recorder or Cap on Windows or Linux |
| Clicks in a desktop app do not zoom | Click & Record detects clicks only inside web pages | Use a desktop recorder for that take |
| A phone recording gets no zoom | A phone recording has no cursor to follow | Set the zooms by hand in an editor |
Record from the terminal instead
The Vidova CLI uses the same recorder. It saves the cursor and clicks in a .vtape file, and the editor places the same zooms after upload. The npm package includes the recorder for macOS and Windows x64. Linux needs a build from source.
npm install -g @vidova/cli
vidova record --no-prompt --window "Chrome" --duration 60
vidova upload take.vtape --new-project "Feature demo" --wait
Questions about click zooms
Does every click get a zoom? Not in Vidova Recorder. It needs 2 or more clicks in one area within 3 seconds, and clicks in one burst share one zoom.
Which options are free? The Vidova Recorder download, Cap for personal use, Click & Record, OBS and the free version of DaVinci Resolve. AI features in the Vidova editor use your Vidova plan.
How deep can a zoom go? Vidova starts at 1.5x and lets you set each zoom from 1x to 8x. Cap's manual zooms run from 1x to 4.5x. Screenify's guide gives 1.5x to 4x.
Does Vidova Recorder need an account? No. You can download it and record without one. The recording stays on your device until you choose to share it.
How do I try the AI editor? New accounts start on a 7-day free trial with 2,000 credits and no watermark. The trial has a 1-minute project limit. Plans start at $19 a month.